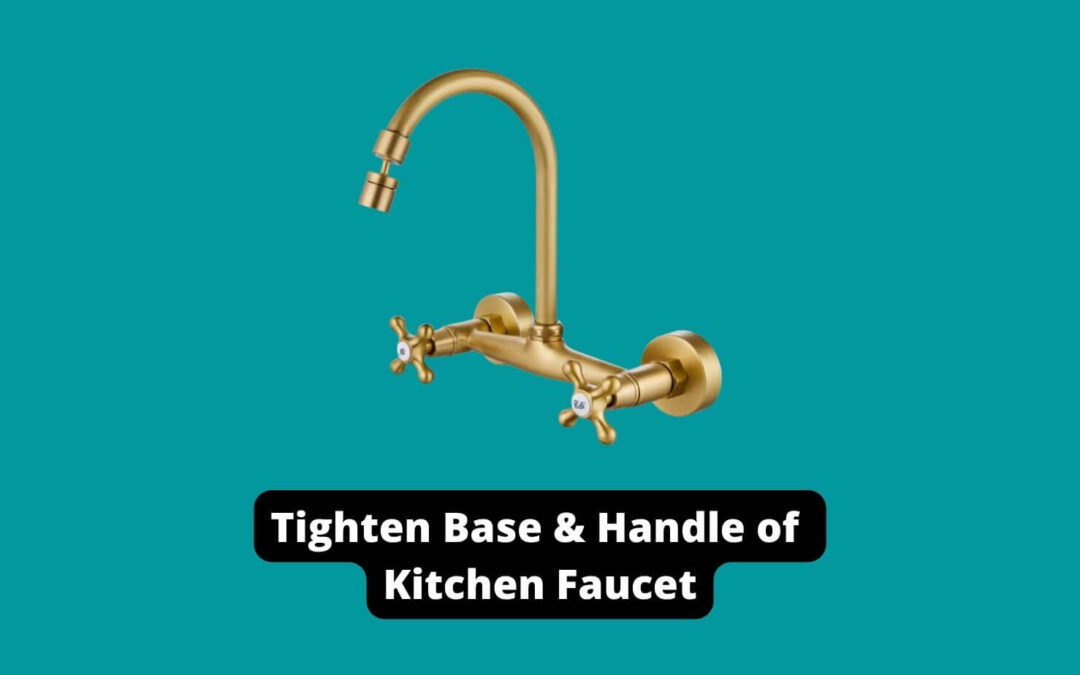
Fixing a loose kitchen faucet and tightening the base and handle are important actions to take in the kitchen. One of the kitchen types of equipment maintenance practices is fixing loose parts. Fixing the parts helps improve the functions of the kitchen faucet when cleaning and cooking. If you want to check on the loose parts of the kitchen faucet, check the water flow and try turning the handle so that you will quickly notice them.
Therefore, it is easy to identify loose connections within the kitchen faucet when you are working with it. However, it is better that you prevent the loose connections in the faucet other than trying to fix them since it costs more. But, if you follow the instructions and steps carefully, you can quickly fix the issues with the faucet without any other damage.
The article below will discuss
- How to fix a loose kitchen faucet
- The required tools to fix a kitchen faucet
- Steps to fix loose kitchen faucets
- How to tighten the faucet base
- How to tighten the faucet handle
- How to tighten a dual handle or single handle kitchen faucet and other related information to the faucet.
How Do I Fix a Loose Kitchen Faucet?
When you have a kitchen faucet at home, you will incur costs when trying to fix it if there are any issues. Initially, you are likely to consult a technician to help fix issues with the kitchen faucet if you are a beginner. However, the guide covers you as it provides the simple steps you can follow to achieve your goal using less cash. Furthermore, if you fail to repair the loose parts, it can cause further damage to the whole system. Therefore, check the guide below to fix the problem.
Required tools to fix kitchen Faucet
There are some you need for the process; some are provided by the manufacturer when purchasing the faucet, and some they instruct you to consider using. Below are the tools needed:
- The proper source of light, in this case, can use a flashlight
- Screwdrivers
- Bucket
- Allen key
- Adjustable wrench
- Pliers
- Masking tape
- Gloves
- Replacement tools where necessary
- Grease
- Brush
Steps to Fix Loose Kitchen Faucets
When fixing the loose kitchen faucet, you need to either work with the handle or the base since they have different methods to work with them. Therefore, if the faucet is loose, check whether it is the handle or base of the faucet that is loose to fix it. The guide below provides different steps for fixing loose kitchen faucets since it depends on whether you are dealing with the faucet handle or base.
How to Tighten the Faucet Base?
Tightening the faucet base has a few steps you need to follow. Apart from the steps, it is advisable that you read the manufacturer’s manual to check the details of the faucet and how to handle it since they are primarily delicate. Below are some of the steps to follow:
1. Clear the sink in the kitchen
Before working with anything on the kitchen faucet, ensure the sink section is clear and ready. It would be best if you cleared the sink to put some parts on top of it when working to avoid getting lost. In this step, you can clean the sink and the underneath parts since you will access them at some point. If your sink is dirty, you will come in contact with it, and it can cause more other dirt on the user, creating a poor environment for the repair of your parts.
2. Put off all the water sources
If the water sources are off, the water valves may not allow water flow unless the water pipes have water flowing. Therefore, if there is water in the valves, use your bucket to drain them all before fixing them. Remember, when you work with water flowing in the kitchen, some will flow out with the screws removed and get lost, or sometimes you can slide when working since it causes slippery ground leading to an accident.
3. Unscrew the screw below the sink
Using your torch or any light source, check on the screws below the sink and remove them. If the screw is loose, you must remove it and tighten it later when assembling all the parts.
4. Adjust the adjustable wrench to a better position.
If you can see the bolt in the faucet, check the position of the adjustable wrench so that it can fit the size of the screws to tighten it.
5. Tighten the screw
After setting the adjustable wrench to the correct position, hold the screw using it and rotate it opposite to the one the screw had. The opposite direction is now going to tighten the nut. Ensure that the screw is tight enough to work, so you must fix it to the correct position.
If you tighten it in excess or under-tighten it, it will cause issues later when working with the faucet. If you are a beginner, check on the screw and ensure you have done it well. However, for experienced individuals, you will feel the correct position of the screw when tightening it.
6. Test the base if it is tight
Using the same ways to test if the faucet is loose, test if the faucet base is tight in this step after tightening. Consider inspecting the lower part of the sink to see if there is any movement.
7. Put on the water sources.
Try putting on the water sources by turning on the valves in the faucet so you can feel the flow of water out of the faucet. Moving water can also test if the faucet base is tight or loose, as you can note its speed and pressure. Any issue with the faucet can change the flow of water, making you need to change them.
8. Reassemble all the faucet parts
After working with the faucet and everything is good with it for work, choose to fix back all the parts of the faucet for a new start. Ensure that you know the position of every part you remove from the faucet, and if you are unsure, please check the manual book to recognize the position of the parts in the faucet.
How to Tighten the Faucet Handle?
If you try fixing the kitchen faucet base and there is still an issue, check on the handle and fix it if it is loose. Gather all tools when working with the handle since you need to unscrew most parts to tighten the faucet handle. Check the steps below to follow:
1. Clear the sink area
When working with the sink, ensure that there is nothing in the sink area that can cause a distraction to your fixing process of the faucet handle. A clear and clean sink also prevents the loss of some small faucet parts that you will place on it. Therefore, ensure that the sink is free from utensils and other items for a smooth operation.
2. Put off the water supply sources
Consider switching off the primary water supply source at home or all the valves available if you cannot reach the primary water source. For example, the kitchen faucet has both cold and water valves that must be off for you to start the process. Remember working with water flowing in the faucet can cause the flow of the screws after removing them from the faucet or sometimes cause an accident when one slides in the water.
3. Check the kind of faucet you are using
Faucets have different models that also need different ways of working with them. There exist different types of faucets where. Some have screws, while others do not have the screws. If the faucet has a screw, use one screwdriver to remove it nicely. However, if the faucet lacks the screwdriver, remove the cap on either the faucet or one of its sides.
4. Fix the loose faucet handle
After checking on the type of faucet you are using, tighten the handle since you can see the screw making it loose. Consider using the Allen key to tighten the faucet handle for good work in the kitchen. The position of the screw determines the type of tool to use when tightening the handle. That is why you need to know the type of faucet you own.
5. Check the state of the faucet handle
After working with the faucet handle screws, and you have finished tightening them, check if it is okay since you can fix a handle but still cannot be tight as needed. Therefore, check if the faucet handles move away from the current position, and if everything is fine, then the faucet handle is good to work.
6. Install new parts required.
After fixing the faucet handle and you note some issues with the accessories, check on them for a replacement. Reassemble everything back to its position such that those damaged parts are the ones to replace when reassembling. If there is still any issue after trying to fix the handle using the steps above, choose to ask for help from a technician.
How to Tighten a Dual Handle or Single Handle Kitchen Faucet?
Tightening a dual or single-handle kitchen faucet is straightforward only if you follow the proper steps and gather all the requirements. The process needs several tools to make it a success. Check on the steps to follow:
1. Switch off the water sources
The water sources in the kitchen faucet are the valves, the primary supply source, and the water lines. Therefore, ensure that there is no flow of water to prevent unnecessary accidents that might occur in the kitchen, like the user’s sliding.
2. Detach the handle
The handle in the faucet is fixed by the screws holding it to the body. Therefore, check on the screws holding it and remove them to access the handle.
3. Remove the disc cartridge
The cartridge detaches itself when you remove the faucet handle that you need to access and scrutinize to identify its problems. If leaks or any other damages, choose to replace them for good faucet work in the kitchen.
4. Put back everything in the faucet handle.
Before fixing the parts back, check on them to ensure they are good and clean to work. Therefore, if they are damaged, you will replace them; After that, you can turn on the water valves or the water sources to test if the handle is working correctly.
What makes the Kitchen faucet handle and base to be loose?
A loose kitchen faucet base and handle are a result of several parts in the kitchen faucet handle or base that are the parts that are holding them to stay. Below are some of the reasons:
- Old screws: If you have old screws that have rust, they tend to be loose after use for a long, making the whole faucet system turn loose.
- Old faucet base and handle: If the faucet base and handle are used for long without any repair or replacement with its parts, they tend to be loose when working showing that you need to replace them for work.
- Issues with the O-rings: The O-rings hold the handle tightly so that if they experience any issues, they may cause the handle to lose in the faucet.
Conclusion
Fixing a loose kitchen faucet when tightening the base and handle are easy tasks to perform if you own a kitchen faucet. You can follow a few steps to fix the parts and tools required for tightening the handle and base. Fixing loose parts in the faucet helps maintain your kitchen faucet and increases its lifespan. However, failure to fix the parts can cause further damage to the whole system. Therefore check the guide to find out what you need to do.

As the chief content writer, Hassan Al Sarker works as a professional kitchen-based content creator at Kitchen Liker.
In addition to reviewing the content published on Kitchen Liker, he ensures that it is accurate, relevant, and helpful. As a result, all the reviews and information published at Kitchen Liker are neutral and userfriendly.
Hassan Al Sarker has a bachelor’s degree in Hotel and Tourism Management From the Newyork University. Before joining Kitchen Liker, he was a contributor at Kitchen Club, United States.