Cleaning a Delta pull-down kitchen faucet aerator results from dirty particles that accumulate at the aerator. To know that the aerator is dirty, check on the speed and pressure of water such that if they are slow, then some dirty particles are blocking the flow of water. And when water pressure and speed are low, there is a lot of time wasted in the kitchen preparing your meals.
Therefore, to avoid such circumstances, try and clean your kitchen faucet aerator frequently so there are no issues accompanying it. Many ask themselves how to clean a Delta pull-down kitchen faucet aerator. The process is and takes less time if you only follow the required instructions and a few steps accompanying it.
The article below explains what an aerator is and its purpose in the kitchen faucet, what causes buildup in the faucet aerators; how to clean a Delta pull-down faucet aerator, and how I remove the aerator from a Delta pull-down faucet with tools and without tools. Lastly are the frequently asked questions and conclusion.

What are faucet aerators and their purpose?
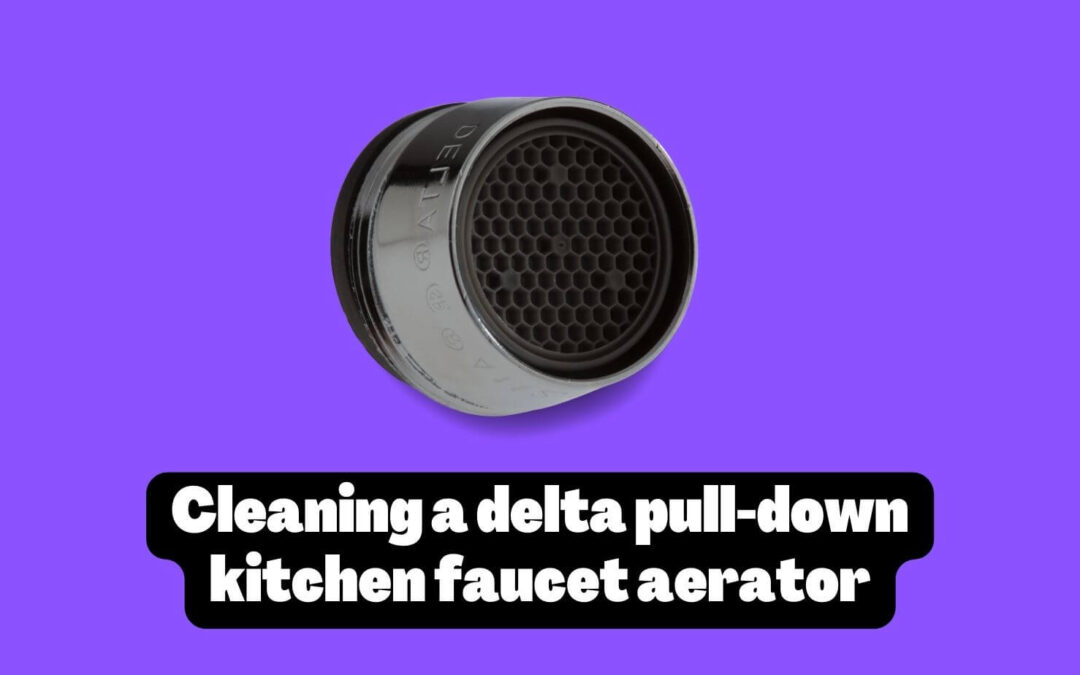
An aerator is a tiny accessory of the faucet that has a circular shape and is typically located on top of the kitchen faucet to increase the splash of water. If you want to know the aerator in your faucet, check how water flows.
Below are some of the purposes of the faucet aerator:
- It increases the flow of the water stream
- It reduces the splashes of water when harvesting them with a bucket
- It saves water flow hence saving the water bills since the aerator regulates its flow out of the faucet
- It increases the dissolving process of water and soap hence saving both of them in the kitchen
- It provides an excellent taste to water.
What causes buildup in faucet aerators?
In the kitchen, several activities lead to buildup in faucet aerators. In the aerator building, some dirt blocks water flow during some activities. Below are some of the reasons that cause the buildup in the kitchen faucet aerators.
- Children with dirty hands grab the faucet aerators anyhow that the dirty particles stick to them, causing their buildup when they continue doing so over time.
- Water that flows through the aerator sometimes has calcium and other minerals found in chemicals for treating water that the calcium can build up in the aerator after some time.
- Dirty water particles can be because the water pipes are dirty; water flowing removes them from the aerator’s mesh.
How to clean a Delta pull-down faucet aerator
Cleaning a Delta pull-down faucet aerator is a simple task that you must perform to your aerator frequently to remove any debris accumulating to prevent more damage to it. However, it would be best if you had some measures in mind while cleaning the faucet aerator for the process to be successful. They include gently removing the aerator from the faucet without any damage and remembering all the steps when disassembling the faucet aerator for assembling purposes. In addition, you need a pair of pliers, screwdriver, sewing needle, brush, masking tape, toothpick, and vinegar. Below are the required steps to follow:
1. Detach the aerator
The first step is detaching the aerator from its place so you can clean it. To detach the aerator, you need to hold it with two hands and turn it in an anticlockwise direction. Some aerators are hard to detach since they can have rust. If you face this, use lubricating oil to the aerator, then turn it with pliers to make it loose for removal. Avoid using excess energy when detaching the aerator since you can cause damage to it, as some aerators are delicate.
2. Inspect the aerator for any dirty particles
Inspect the aerator for any dirty particles so that you can remove them. When you use your normal eyes, you cannot see any dirty particles in the aerator to remove. Therefore, use a toothpick or insert fingers inside the aerator to feel the dirt. If you feel any dirty particles in the aerator, remove them using a toothpick, small brush, or a screwdriver so long you are not damaging its walls.
3. Separate the aerator from the faucet.
After checking the aerator and finding it dirty, you need to separate it from the rest of the parts for proper cleaning. Therefore remove the aerator gently for cleaning.
4. Clean the aerator
If you have the aerator out of the faucet, you can easily clean it. First, gently remove any dirt particles blocking the filter mesh using the sewing needle to avoid damaging the mesh. Next, pick out the large particles that are visible in the aerator.
5. Place the aerator in the vinegar solution.
Apart from the aerator, some other parts accompany it in the faucet. So, place these parts together with the aerator in vinegar solution for easy mixing. When the dirty parts get in contact with the vinegar solution, they can be smooth enough to fall off without any pressure. You need to give the parts in vinegar solution time between 10 to 15 hours so that you can easily remove them with a toothbrush.
6. Wash the aerator in clean water
After removing the aerator and its parts from the vinegar solution, wash them with clean water to wash out all the remaining debris. Next, you can check to confirm that the aerator is thoroughly washed and that no dirt particles stick to it.
7. Fix back the aerator and other parts
After cleaning the aerator:
- Consider putting it back in its usual position for normal purposes.
- Put back all the places in place and ensure tight connections between them.
- Ensure the aerator is in the proper position and tight in the faucet.
How do I remove the aerator from a Delta pull-down faucet?
When removing the aerator from a Delta pull-down faucet, here are a few steps you need to follow. However, the steps are either using tools or without using the tools. The processes are all possible if you follow the right steps:
Without tools
When removing the aerator from the Delta pull-down faucet without tools, you need to use only your hands to ensure that the aerator is out of the faucet. Below are the steps to follow:
- Ensure that your hands are dry and clean. Therefore, you need to wash your hands and use a cloth to dry them.
- Ensure the faucet is dry for easier working with it
- Hold the faucet tightly to rotate it so you can remove it. Choose to remove gloves when holding the faucet or any cotton piece for a tight holding of the faucet.
- Pull off the faucet aerator from the faucet.
With proper tools
When removing a Delta pull-down kitchen faucet aerator using proper tools, you must collect all the necessary tools. The proper tools for this process include pliers, masking tape, a brush, lubricating oil, etc. Below are the steps to follow:
- Remove all screws in the aerator using free hands to check if it can work well. If the step fails, consider using the tools applicable.
- Using the pliers available, rotate the aerator in the opposite direction from its normal position. Ensure you cover the surface; you will place the pliers with masking tape to prevent damage to the aerator. If the method fails to work, try other methods until you remove the aerator.
- Try heating the aerator using a dryer such that when it receives some heat, it will enlarge and be loose that you can twist it with free hands or now use pliers to remove it.
- Use lubricating oil to make it lose, and remove the aerator.

Frequently asked questions
1) Why should I clean the faucet aerator?
Cleaning the faucet aerator helps increase water’s speed and pressure, reduce water splash, and remove debris that blocks water flow.
2) How often should you clean your aerator?
Cleaning the aerator should frequently be done such that you can do it twice a year.
3) Will vinegar clean a faucet aerator?
Vinegar cleans the faucet aerator if you soak the aerator for a long time.
4) Can a Delta kitchen faucet aerator be replaced?
Yes, you can replace the kitchen faucet aerator if you remove the former and follow the proper steps to fix a new one.
Conclusion
Cleaning a Delta pull-down kitchen faucet aerator is a regular task that you need to do if you own an aerator in your kitchen. However, you can follow a few steps when cleaning and the necessary tools you need to have for the process. Remember, when you clean the aerator, you are making the cooking process and other activities in the kitchen more efficient.

As the chief content writer, Hassan Al Sarker works as a professional kitchen-based content creator at Kitchen Liker.
In addition to reviewing the content published on Kitchen Liker, he ensures that it is accurate, relevant, and helpful. As a result, all the reviews and information published at Kitchen Liker are neutral and userfriendly.
Hassan Al Sarker has a bachelor’s degree in Hotel and Tourism Management From the Newyork University. Before joining Kitchen Liker, he was a contributor at Kitchen Club, United States.