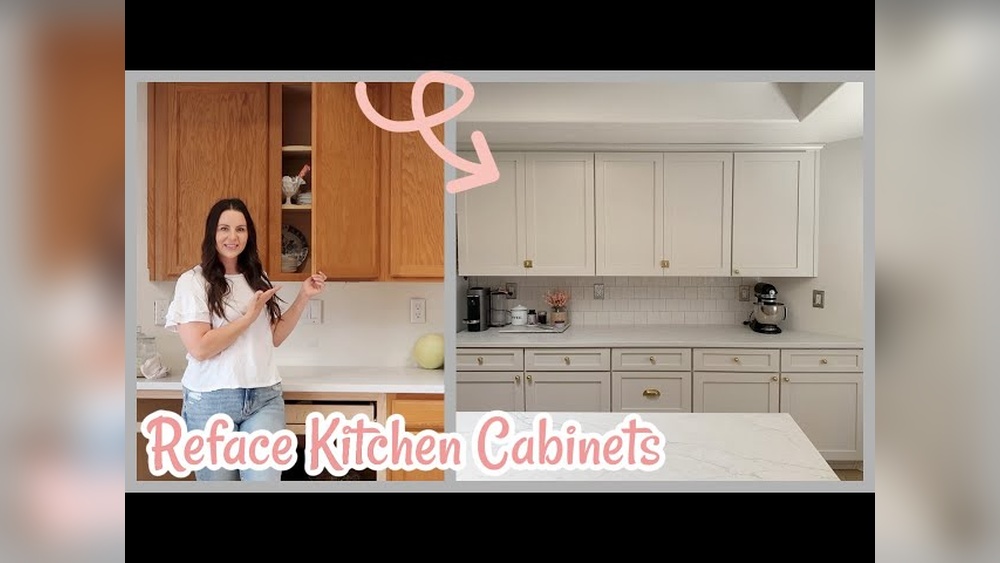
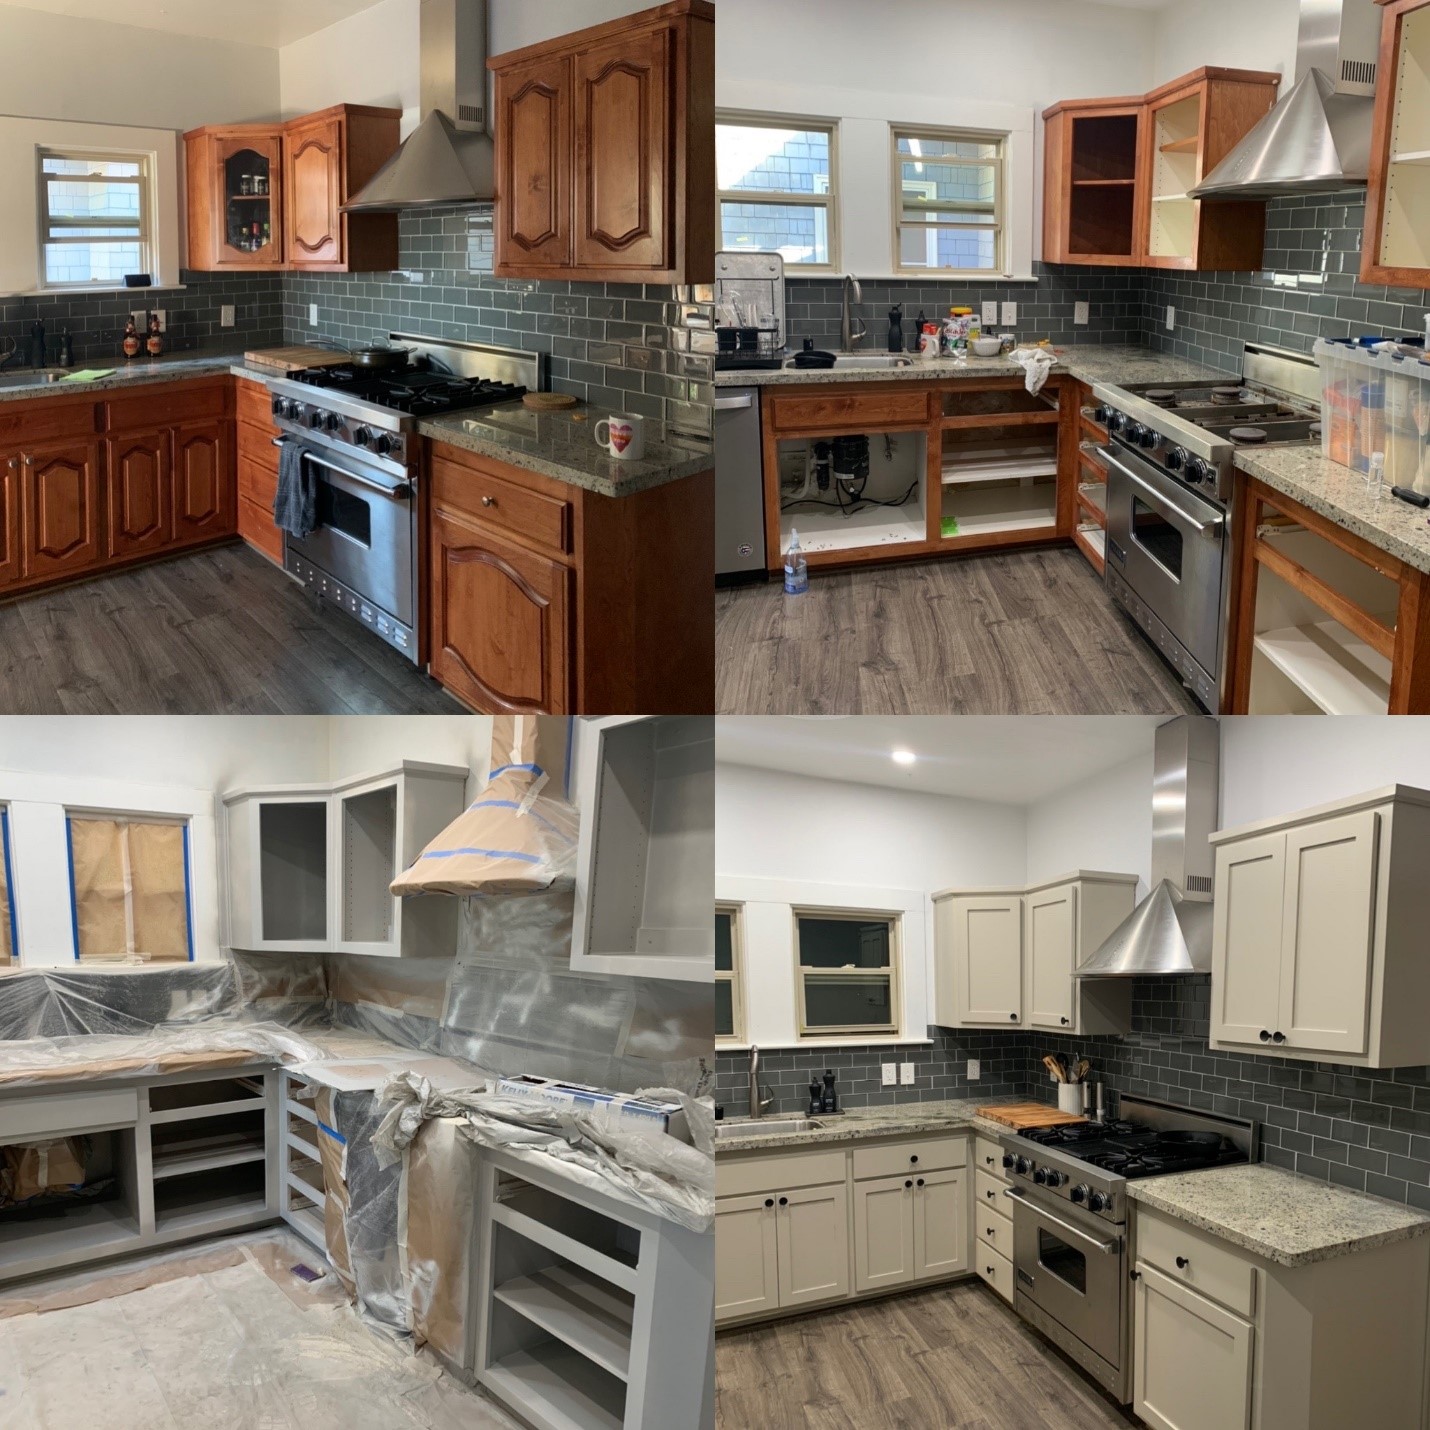
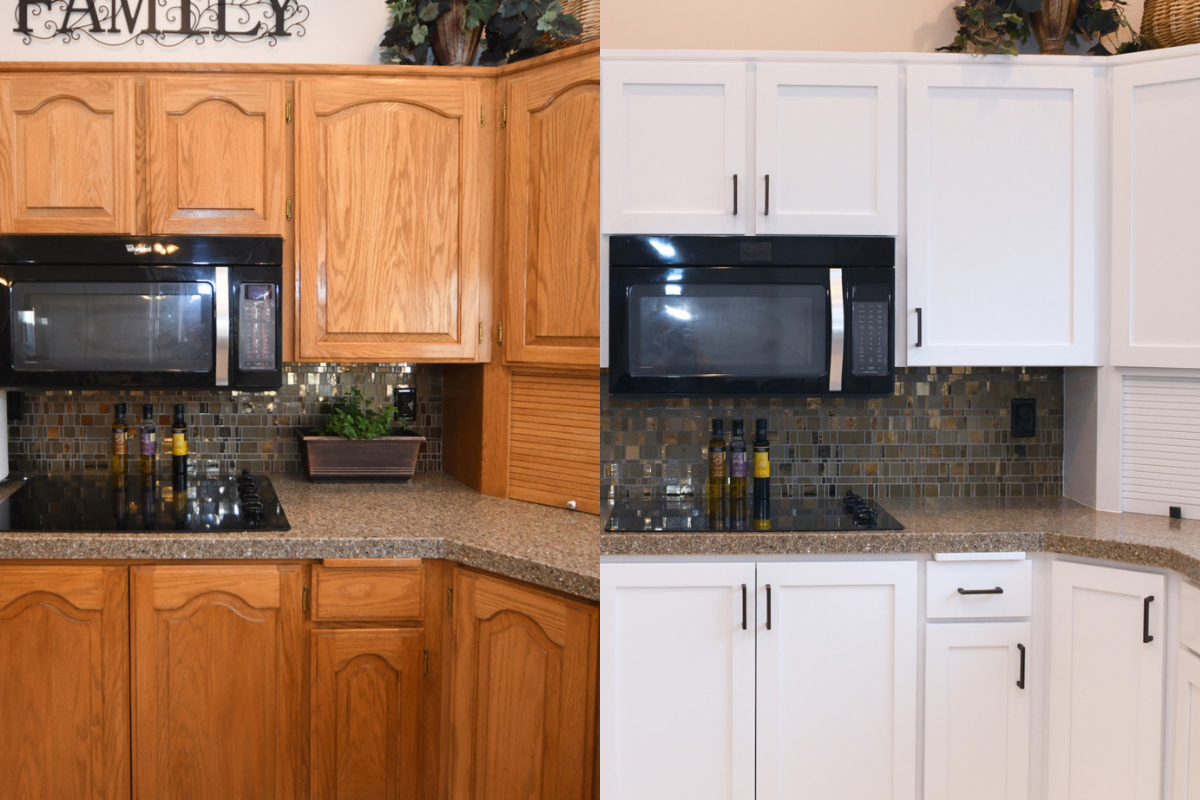
Are your kitchen cabinet doors looking worn out or outdated? Replacing them can instantly refresh your kitchen without the cost of a full remodel.
But you might wonder, “Can I really do this myself? ” The good news is, yes—you can! With just a few simple tools and clear steps, you’ll be able to give your kitchen a brand-new look. Keep reading, and you’ll discover an easy, step-by-step guide to replacing your cabinet doors like a pro.
Your dream kitchen makeover is closer than you think!
Tools And Materials Needed
Replacing kitchen cabinet doors is a simple way to update your kitchen’s look. Having the right tools and materials makes the job easier and faster. Prepare everything before you start. This helps avoid interruptions and frustration.
Gather these items to ensure a smooth process. Each tool and material has a specific role. Knowing their use helps you work safely and efficiently.
Essential Tools For Removing And Installing Cabinet Doors
- Screwdriver (Phillips and flathead) – for screws
- Drill with bits – speeds up screw removal and installation
- Measuring tape – ensures accurate door size and placement
- Level – keeps doors straight and aligned
- Clamps – hold doors steady during installation
- Putty knife – removes old glue or paint
- Utility knife – cuts caulk or sealant
- Safety glasses – protect your eyes during work
- Work gloves – protect your hands from splinters and cuts
Materials Needed For Replacing Kitchen Cabinet Doors
- New cabinet doors – choose style and size carefully
- Hinges – match the door type and cabinet frame
- Screws – use proper length and type for hinges
- Wood filler – fills holes or damage on cabinet frame
- Sandpaper – smooths surfaces for painting or staining
- Paint or stain – finish your new doors
- Painter’s tape – protects edges during finishing
- Cleaning cloth – wipes dust and dirt before installation
Credit: www.cabinetdoors.com
Preparing The Kitchen
Preparing the kitchen is a key step before replacing cabinet doors. It makes the process smoother and protects your space. Taking time to prepare saves effort later and keeps everything safe.
Clear The Area
Remove items from countertops near the cabinets. Move small appliances, dishes, and decor to another room. This gives you space to work freely and prevents damage. Clearing the area also helps you avoid accidents during the project.
Protect Surfaces
Cover countertops and floors with a drop cloth or old sheets. Use painter’s tape to secure the coverings in place. Protecting surfaces keeps them safe from dust, scratches, and spills. It makes cleaning up easier after replacing the cabinet doors.
Removing Old Cabinet Doors
Removing old cabinet doors is the first step in giving your kitchen a fresh look. This task needs care to avoid damage to the cabinets or hardware. Taking your time will make the process smooth and easy.
Organizing parts as you go helps a lot when installing new doors later. Follow these simple steps to remove the doors correctly.
Unscrew Hinges
Start by opening each cabinet door fully. Use a screwdriver to remove screws from the hinges. Keep the cabinet door steady as you work. Place the screws and hinges in a small container. This keeps everything safe and easy to find.
Be gentle to avoid scratching the cabinet frame. If hinges are stuck, try loosening screws slowly. Avoid forcing the door off to prevent damage.
Label Doors And Hardware
Labeling each door and its hardware saves time later. Use masking tape and a marker to write numbers or letters. Attach a label to each door and matching hinges. This helps match doors with the right cabinet frame during installation.
Also, group screws and small parts by door. Store them in separate bags or containers. This simple step prevents confusion and keeps your project organized.
Credit: www.nhance.com
Choosing New Cabinet Doors
Choosing new cabinet doors is a key step in updating your kitchen. The right doors change the whole look and feel of the space. They also affect the kitchen’s style and function. Careful choices make the replacement process smoother and ensure satisfaction with the results.
Selecting Styles And Materials
Cabinet doors come in many styles. Some have flat panels, while others have raised or recessed panels. Choose a style that matches your kitchen’s design. Traditional, modern, or farmhouse styles are common options.
Materials matter too. Wood doors give a warm, natural look. MDF or laminate doors offer a budget-friendly, easy-care option. Solid wood lasts long but needs more care. Choose a material that fits your lifestyle and budget.
Measuring For Fit
Accurate measurements are vital for new doors. Measure the height and width of each cabinet opening. Measure from edge to edge, not just the visible part.
Check the thickness of the old doors. New doors should match this to fit hinges and handles properly. Double-check all numbers before ordering. This prevents mistakes and extra costs later.
Installing New Cabinet Doors
Replacing kitchen cabinet doors can refresh your space quickly. Start by removing old doors, then attach new ones using hinges. Measure carefully to ensure a perfect fit and smooth operation.
Attaching Hinges
Start by attaching hinges to the new cabinet doors. Use the screws that come with your hinges. Place the hinges in the same spots as the old ones. This ensures the doors will fit properly. Tighten the screws firmly but do not overtighten. Loose screws can cause the door to sag. Make sure the hinges sit flush against the door surface.
Aligning And Mounting Doors
Hold the door against the cabinet frame carefully. Check that it lines up with adjacent doors and drawers. Use a level to ensure the door is straight. Mark the hinge positions on the cabinet frame. Drill small pilot holes to avoid splitting the wood. Attach the door by screwing the hinges to the cabinet frame. Adjust the hinges to align the door perfectly. Make small changes until the door opens and closes smoothly.
Finishing Touches
Finishing touches bring your kitchen cabinet doors to life. These final steps make sure doors look great and work well. Small adjustments and details create a polished, professional feel. This part is simple but very important for a neat result.
Adjusting Door Alignment
Check each door’s position carefully. Doors should sit evenly in the frame. Use a screwdriver to move hinges slightly. Align the top and bottom edges. Make sure gaps between doors are equal. This helps doors close smoothly and look balanced.
Test each door by opening and closing it. Adjust again if doors stick or do not close fully. Take your time for best results.
Adding Handles And Knobs
Choose handles or knobs that match your kitchen style. Mark holes on the doors using the old hardware as a guide. Drill holes carefully for a clean look. Attach the handles or knobs tightly. Check that they feel secure and comfortable to use.
Handles and knobs add style and make doors easy to open. They complete the look of your new cabinet doors perfectly.
Maintenance Tips
Maintaining your new kitchen cabinet doors keeps them looking fresh and lasting longer. Regular care prevents damage and keeps the doors working smoothly. Follow simple steps to protect your investment and enjoy a neat kitchen.
Cleaning The Cabinet Doors
Use a soft cloth and mild soap to clean the doors. Avoid harsh chemicals that can damage the finish. Wipe gently and dry with a clean towel. Clean spills right away to prevent stains.
Checking And Tightening Hinges
Loose hinges cause doors to sag or not close properly. Check them every few months. Use a screwdriver to tighten any loose screws. This keeps doors aligned and easy to open.
Protecting From Moisture
Water can warp or damage cabinet doors over time. Keep the area dry by wiping off water quickly. Avoid placing wet items directly on the doors. Use mats or trays near sinks and dishwashers.
Handling With Care
Open and close doors gently to avoid damage. Do not hang heavy items on door handles. Teach family members to treat cabinet doors kindly. Careful use helps the doors stay strong and beautiful.

Credit: www.youtube.com
Frequently Asked Questions
How Do I Remove Old Kitchen Cabinet Doors Safely?
To remove old cabinet doors, first unscrew the hinges using a screwdriver. Support the door to prevent damage. Keep screws in a safe place for reuse. Work slowly to avoid chipping or scratching the cabinet frame.
What Tools Are Needed To Replace Cabinet Doors?
You’ll need a screwdriver, drill, measuring tape, level, and new hinges. Optionally, use a stud finder and clamps. These tools help ensure accurate installation and alignment of new cabinet doors.
Can I Reuse Old Hinges On New Cabinet Doors?
Yes, you can reuse hinges if they are in good condition. Check for rust or damage before installing. Reusing hinges saves cost and maintains door alignment if sizes match.
How Long Does It Take To Replace Kitchen Cabinet Doors?
Replacing cabinet doors usually takes 2 to 4 hours for an average kitchen. Time depends on the number of doors and your DIY experience. Planning and preparation speed up the process.
Conclusion
Replacing kitchen cabinet doors can refresh your space quickly. Choose doors that fit your style and budget. Measure carefully to avoid mistakes. Take your time removing old doors and attaching new ones. Small steps make the job easier and less stressful.
Enjoy the new look and feel of your kitchen. A simple change can make a big difference. Try this project yourself for a fresh kitchen look.

As the chief content writer, Hassan Al Sarker works as a professional kitchen-based content creator at Kitchen Liker.
In addition to reviewing the content published on Kitchen Liker, he ensures that it is accurate, relevant, and helpful. As a result, all the reviews and information published at Kitchen Liker are neutral and userfriendly.
Hassan Al Sarker has a bachelor’s degree in Hotel and Tourism Management From the Newyork University. Before joining Kitchen Liker, he was a contributor at Kitchen Club, United States.