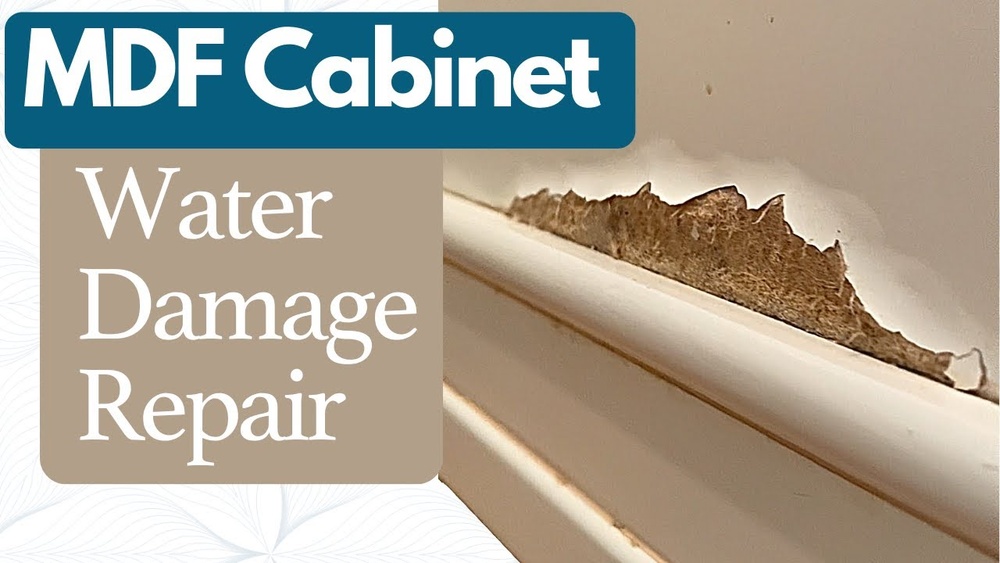
Is your kitchen looking worn out because of water damage on your cabinets? You don’t have to replace everything to bring them back to life.
Imagine saving money and restoring your kitchen’s charm with a few simple steps. You’ll discover easy and effective ways to repair water damaged kitchen cabinets yourself. By the end, you’ll feel confident tackling the problem and making your kitchen look fresh and new again.
Keep reading to find out how!
Identify Water Damage Signs
Identifying water damage in kitchen cabinets is the first step to fixing the problem. Early detection helps prevent bigger repairs later. Look carefully at your cabinets for signs of damage. Small issues can grow fast if ignored.
Check For Swelling And Warping
Water makes wood absorb moisture and expand. Check if cabinet surfaces look puffy or bigger than usual. Doors may not close properly. Warped edges or uneven surfaces are a clear sign of water damage. These changes affect the cabinet’s shape and function.
Spot Mold And Mildew
Dark spots or patches inside or outside the cabinets often mean mold or mildew growth. Mold thrives in damp areas. It can appear as black, green, or white spots. Smell for musty odors that hint at hidden mold. Mold damages wood and can cause health issues.
Detect Soft Or Spongy Areas
Press the cabinet surface gently with your fingers. Soft or spongy spots show wood has absorbed water and weakened. These areas may feel different from dry wood. Soft wood breaks easily and must be repaired or replaced to keep cabinets strong.
Credit: uskitchencabinet.com
Remove Damaged Cabinet Parts
Removing damaged parts is the first step in fixing water-damaged kitchen cabinets. This step helps stop the damage from spreading. It also prepares the cabinet for new parts and repairs. You need to work carefully to avoid hurting the good parts of the cabinet. Use the right tools and take your time to remove all damaged pieces.
Start by taking off doors and drawers. This makes it easier to see the damage inside. Then, remove any panels that are soft or swollen. Finally, throw away any wood that looks rotten. Proper disposal keeps your workspace clean and safe.
Detach Cabinet Doors And Drawers
Use a screwdriver to take off the cabinet doors. Remove all screws holding the hinges in place. Keep the screws in a safe spot for later use. Slide out the drawers by pulling them straight out. Check the slides and runners for damage. Removing doors and drawers gives clear access to the cabinet frame.
Take Out Damaged Panels
Look for panels that feel soft or swollen. These parts absorb water and lose strength. Pry panels gently using a flat tool like a putty knife. Avoid breaking the panels more than necessary. Remove all parts that show signs of water damage. This step is key to fixing the cabinet structure.
Dispose Of Rotten Wood Properly
Rotten wood can cause mold and bad smells. Place all rotten pieces in a heavy-duty trash bag. Seal the bag tightly to avoid spreading dust or spores. Check local rules for disposing of wood waste. Clean your tools and area after disposal. Proper cleanup protects your health and home.
Dry And Clean The Area
Drying and cleaning the water damaged kitchen cabinets is the first step to fix the problem. Moisture left behind causes more damage and mold growth. Act fast to stop further issues. Clear the area well before starting repairs.
Use Fans And Dehumidifiers
Place fans near the cabinets to blow air across wet spots. This helps speed up drying. Use a dehumidifier in the kitchen to remove moisture from the air. Run both devices for several hours or days until the wood feels dry. Check often to avoid hidden dampness.
Clean Mold With Safe Solutions
Look for any mold on cabinet surfaces or inside corners. Use a mix of water and mild soap or vinegar to clean mold safely. Avoid harsh chemicals that can damage wood. Wear gloves and a mask for protection. Wipe the moldy areas gently and let them dry completely.
Prepare Surface For Repair
Remove loose paint, peeling laminate, or damaged wood pieces. Sand rough edges to create a smooth surface. Clean dust and debris with a damp cloth. A clean, dry surface helps repair materials stick well. Now, the cabinets are ready for the next repair steps.
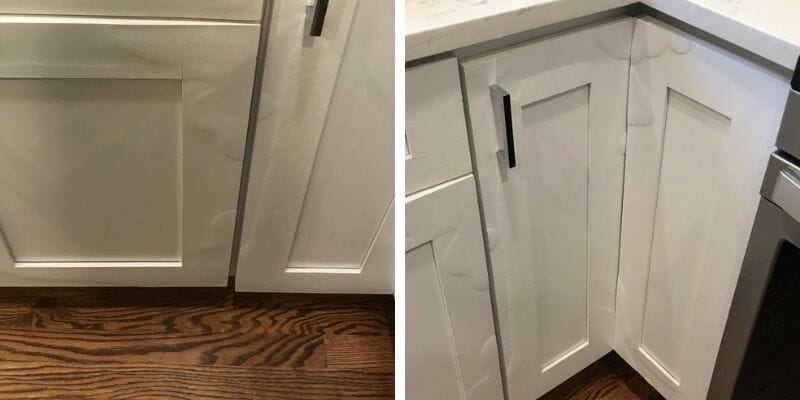
Fix Minor Damages
Minor damages on kitchen cabinets can spoil their look and lead to bigger problems. Fixing small cracks, holes, and rough spots keeps cabinets strong and fresh. A few simple steps restore their charm without replacing them.
This section explains easy ways to repair minor water damage. Follow these steps carefully to bring your cabinets back to life.
Fill Cracks And Holes
Start by cleaning the damaged area. Remove dirt and loose wood bits. Use wood filler or putty to fill cracks and holes. Press it firmly into the gaps. Smooth the surface with a putty knife. Let it dry completely before moving on. This prevents water from entering and causing more damage.
Sand Rough Surfaces
After the filler dries, sand the repaired area gently. Use fine-grit sandpaper for a smooth finish. Sand until the surface is even with the rest of the cabinet. This step removes rough spots and old paint chips. Clean dust away with a cloth before the next step.
Apply Wood Sealant
Seal the repaired surface to protect it from water. Choose a good quality wood sealant or varnish. Apply it evenly with a brush or cloth. Let it dry fully as per instructions. A sealant prevents future water damage and keeps cabinets looking good longer.
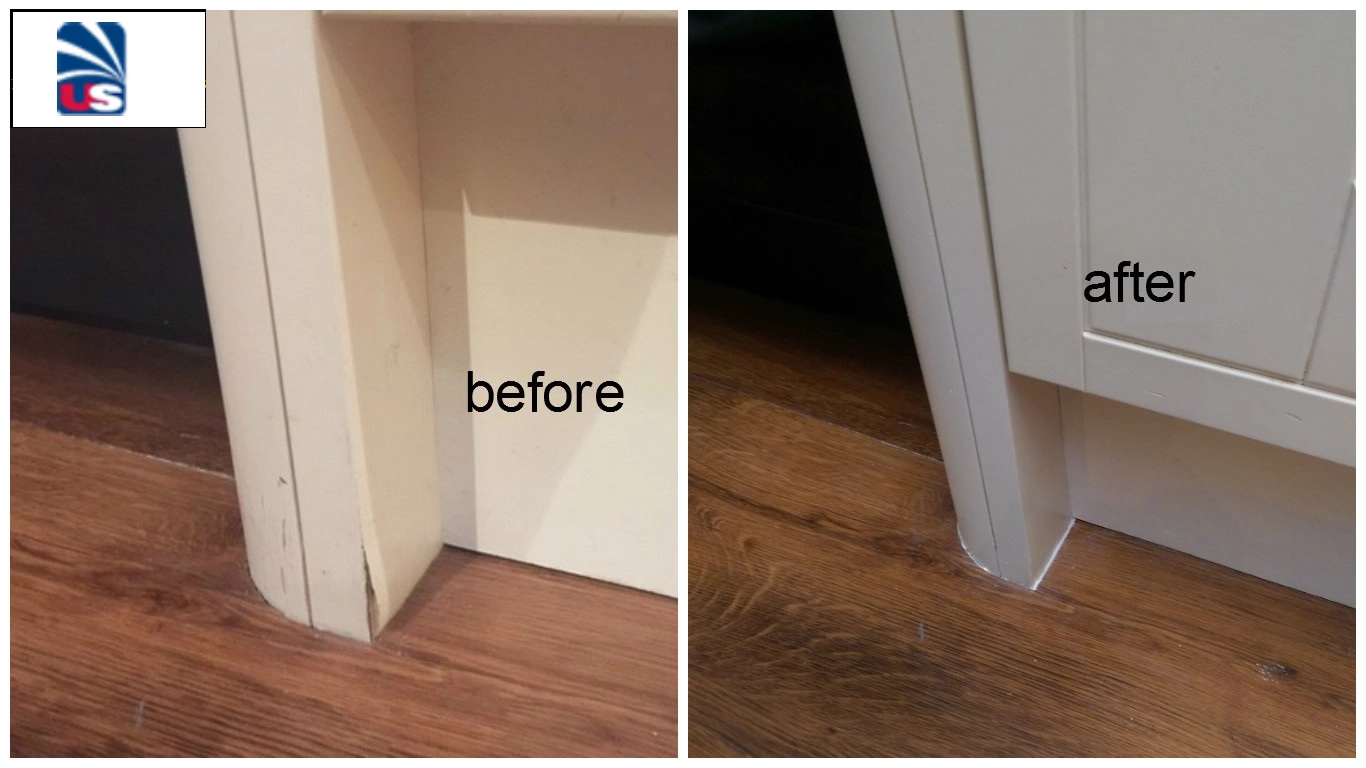
Replace Severely Damaged Parts
Replacing severely damaged parts of water-damaged kitchen cabinets is key to restoring their strength and appearance. Some areas may be too weak or swollen to fix with fillers or paint. Replacing these parts ensures your cabinets last longer and look good.
Start by identifying all parts that need replacement. This may include panels, doors, or drawers. Using quality wood helps keep your kitchen sturdy and attractive.
Measure And Cut New Wood
Measure the damaged part carefully. Use a tape measure for accurate length and width. Write down the numbers before cutting. Choose wood that matches your cabinet style and thickness.
Use a saw to cut the wood pieces. Cut slowly to keep edges straight. Sand rough edges to make them smooth. Proper cutting helps new parts fit perfectly.
Install Replacement Panels
Remove the damaged panels completely. Clean the area from dirt and old glue. Place the new panel in the empty space. Check if it fits well before fixing.
Use wood glue and nails to secure the panel. Press firmly and let the glue dry. Ensure the panel stays flat and even. Strong installation prevents future damage.
Secure Doors And Drawers
Take off doors and drawers that are broken. Replace damaged parts or buy new ones if needed. Attach hinges and handles tightly. Check if doors open and close smoothly.
Tighten screws or add new ones for support. Adjust alignment so everything fits right. Well-secured doors and drawers improve cabinet use and look.

Credit: www.youtube.com
Refinish And Protect Cabinets
Refinishing and protecting kitchen cabinets after water damage restores their look and strength. This step improves the wood’s appearance and guards against future problems. Proper refinishing makes cabinets last longer and look fresh.
Choose Suitable Paint Or Stain
Select paint or stain made for kitchen cabinets. These products resist moisture and wear. Oil-based stains protect wood deeply. Water-based paints dry quickly and clean up easily. Pick a color that matches your kitchen style. Test the product on a small area before full use.
Apply Protective Coating
After staining or painting, add a clear protective coat. Polyurethane is strong and water-resistant. Apply thin, even layers with a brush. Let each coat dry fully before the next. This layer seals the wood and prevents water damage. Use a satin or semi-gloss finish for easy cleaning.
Maintain Cabinets To Prevent Future Damage
Keep cabinets dry to avoid new damage. Wipe spills and moisture quickly. Check under sinks for leaks often. Use cabinet liners to protect shelves from water. Clean cabinets gently with mild soap and water. Regular care saves money and keeps cabinets looking good.
Prevent Future Water Damage
Preventing water damage in kitchen cabinets is key to keeping them strong and looking good. Water can cause wood to swell, warp, or rot. It can also lead to mold growth, which is unhealthy.
Taking steps to stop water damage early saves money and hassle later. It keeps your kitchen safe and fresh. Here are some important tips to protect your cabinets from water harm.
Fix Leaks Promptly
Leaks cause most water damage in kitchens. Check under sinks and around pipes often. Tighten loose fittings and replace worn washers fast. Even small drips can cause big problems over time. Fixing leaks quickly stops water from soaking into cabinets.
Improve Kitchen Ventilation
Moist air makes water damage worse. Use exhaust fans to remove steam and humidity. Open windows when cooking or washing dishes. Good air flow dries wet areas faster. It also helps prevent mold and mildew from growing inside cabinets.
Use Waterproof Materials
Choose cabinet materials that resist water damage. Use water-resistant paint or sealant on wood surfaces. Consider laminate or PVC cabinets in wet areas. These materials do not absorb water easily. They offer extra protection against spills and leaks.
Credit: www.servicemasterbyzaba.com
Frequently Asked Questions
How Do I Assess Water Damage In Kitchen Cabinets?
Inspect for swelling, discoloration, or soft spots on wood surfaces. Check cabinet interiors and backs for mold or mildew growth. Early detection prevents further damage and costly repairs.
Can I Repair Water-damaged Cabinet Wood Myself?
Yes, minor damage like surface stains or small cracks can be fixed using wood filler and sanding. For severe damage, consider professional help to avoid worsening the issue.
What Materials Are Needed To Repair Water-damaged Cabinets?
You’ll need wood filler, sandpaper, primer, paint or stain, sealant, and cleaning supplies. Proper tools and materials ensure a durable and visually appealing repair.
How Long Does It Take To Repair Water-damaged Cabinets?
Repairs typically take 1 to 3 days, depending on damage severity. Drying time may extend the process, so patience is essential for effective results.
Conclusion
Repairing water damaged kitchen cabinets takes patience and care. Start by removing all wet parts and drying the area well. Use wood filler or replacement parts to fix damaged spots. Sand and paint to protect your cabinets from future harm.
Small repairs can save money and keep your kitchen looking fresh. Keep an eye on leaks to stop damage early. With simple steps, your cabinets can look good again. Remember, regular cleaning and quick action prevent long-term problems. Your kitchen deserves attention and care for lasting beauty.

As the chief content writer, Hassan Al Sarker works as a professional kitchen-based content creator at Kitchen Liker.
In addition to reviewing the content published on Kitchen Liker, he ensures that it is accurate, relevant, and helpful. As a result, all the reviews and information published at Kitchen Liker are neutral and userfriendly.
Hassan Al Sarker has a bachelor’s degree in Hotel and Tourism Management From the Newyork University. Before joining Kitchen Liker, he was a contributor at Kitchen Club, United States.