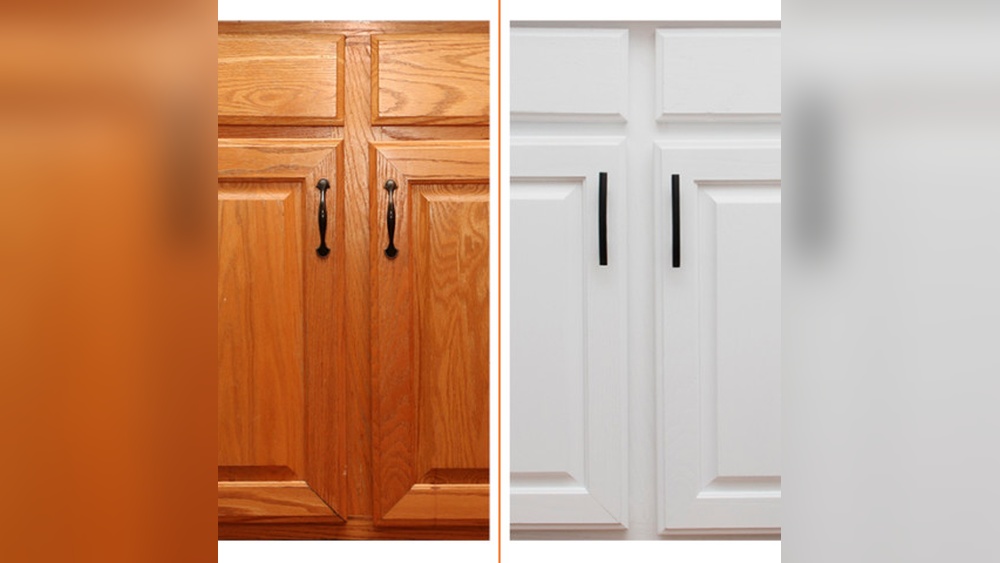
Are your kitchen cabinet doors looking worn out or outdated? Refinishing them can give your kitchen a fresh, new look without the cost of a full remodel.
You might think it’s a complicated task, but with the right steps, you can transform your cabinets yourself. In this guide, you’ll discover simple, effective techniques that save you time and money. Ready to bring life back to your kitchen?
Keep reading, and you’ll learn exactly how to refinish your cabinet doors like a pro.
Credit: www.homedepot.com
Gathering Supplies
Before starting to refinish kitchen cabinet doors, gather all supplies. Having everything ready saves time and keeps the project smooth. Proper tools and materials help get the best results. Prepare a clean workspace for your supplies and doors.
Essential Tools
Gather sanding blocks or electric sanders to smooth surfaces. Use screwdrivers to remove and reattach doors easily. Get painter’s tape to protect areas from paint. Collect clean rags or tack cloths to wipe dust. Have paintbrushes or foam rollers for applying paint. A drop cloth will protect your floor from spills.
Choosing The Right Paint And Finish
Select paint made for cabinets or wood surfaces. These paints are durable and resist chipping. Choose a finish like satin, semi-gloss, or gloss. Satin hides imperfections and looks soft. Semi-gloss and gloss give a shiny, easy-to-clean surface. Pick a paint color that matches your kitchen style. Use a primer to help paint stick better and last longer.
Preparing The Workspace
Preparing the workspace is the first important step in refinishing kitchen cabinet doors. A clean and organized area helps you work safely and efficiently. It also protects your home from dust, paint, and fumes. Take time to set up before starting the project.
Clearing The Area
Remove all items from around your workspace. Take out rugs, furniture, and decorations near the cabinets. This space needs to be free of clutter for easy movement. Cover floors and counters with drop cloths or old sheets. It protects surfaces from dust and paint spills. Keep cleaning supplies nearby for quick mess cleanup.
Setting Up Ventilation
Good airflow is key during refinishing. Open windows and doors to let fresh air in. Use fans to push fumes outside if possible. Avoid breathing in dust and strong paint smells. Wear a mask designed for painting or sanding. Proper ventilation keeps the air safe and comfortable.
Removing Cabinet Doors
Removing kitchen cabinet doors is the first step in refinishing them. It makes the process easier and cleaner. Taking the doors off lets you work on each piece separately. You avoid mess and damage to the cabinet frame. This part needs care and some planning.
Organizing the doors and hardware helps keep everything in place. It saves time when you put the doors back. Follow simple steps to remove doors safely and neatly.
Labeling And Organizing
Start by labeling each cabinet door and its spot. Use a piece of masking tape and a marker. Write a number or letter that matches the cabinet frame. This prevents confusion later.
Place each door on a soft surface to avoid scratches. Keep screws and small parts in separate containers. Group hardware by door for easy access. This step saves effort during reassembly.
Detaching Hinges And Hardware
Use a screwdriver to remove screws from the hinges. Hold the door steady to stop it from falling. Take out all screws carefully and set them aside.
Remove any handles or knobs from the doors. Keep these parts with the matching door label. Check each hinge and hardware for damage or rust. Replace anything broken before reattaching the doors.
Cleaning And Sanding
Cleaning and sanding are the first key steps in refinishing kitchen cabinet doors. These steps prepare the surface for paint or stain. A clean and smooth surface helps new finishes stick better and last longer.
Removing Dirt And Grease
Kitchen cabinets collect dirt and grease over time. Use a mild detergent mixed with warm water. Apply the solution with a soft cloth or sponge. Scrub gently to remove all grime. For tough grease, use a degreaser or vinegar solution. Rinse the doors with clean water. Dry them completely with a soft towel. Clean surfaces ensure paint or stain will not peel off.
Sanding Techniques For Smooth Surfaces
Start sanding with medium-grit sandpaper, around 120 grit. Sand in the direction of the wood grain. This avoids scratches and rough spots. After the first sanding, wipe off dust with a damp cloth. Next, use fine-grit sandpaper, like 220 grit, for a smooth finish. Sand lightly to avoid damaging the wood. Remove all sanding dust before painting or staining. Smooth surfaces give your cabinets a professional look.
Repairing Imperfections
Repairing imperfections is a key step in refinishing kitchen cabinet doors. It makes the surface smooth and ready for paint or stain. Small cracks, dents, and holes can spoil the final look. Fixing these flaws helps cabinets look fresh and new.
Filling Cracks And Holes
Start by cleaning the damaged areas. Remove any loose wood or dust. Use wood filler to fill cracks and holes. Apply it with a putty knife, pressing it deep into gaps. Smooth the surface as much as possible. Let the filler dry completely before moving on. This step hides imperfections well and creates an even base.
Sanding Repairs
Once the filler is dry, begin sanding the repaired spots. Use fine-grit sandpaper for a smooth finish. Sand in small circles until the area blends with the rest of the door. Remove all dust with a damp cloth. Proper sanding ensures the paint or stain will stick evenly. It also prevents bumps and rough patches.
Priming The Doors
Priming kitchen cabinet doors is a key step in refinishing. It helps paint stick better and lasts longer. Primer also hides old stains and smooths rough surfaces. This process makes your cabinets look fresh and new.
Choose the right primer for your cabinet material. Apply it carefully and evenly. These steps protect your work and improve the final look.
Choosing The Right Primer
Select a primer that fits the door material. Wood doors need a wood primer. Metal or laminate doors need special primers for adhesion. Check the label for compatibility with your paint type. Use a stain-blocking primer if there are dark marks or knots.
Applying Primer Evenly
Use a clean brush or roller for smooth application. Apply thin coats to avoid drips and bubbles. Brush in the direction of the wood grain. Let each coat dry fully before adding another. Sand lightly between coats for a smooth finish.
Painting The Cabinets
Painting kitchen cabinet doors is a great way to refresh your kitchen. It gives your space a new look without spending much money. This step requires care to get a smooth, long-lasting finish. Follow these tips to paint your cabinets well.
Selecting Paint Types
Choose paint made for cabinets or trim. These paints are stronger and resist scratches. Semi-gloss or satin finishes work best for kitchen cabinets. They clean easily and look nice. Avoid flat or matte paints because they stain easily.
Applying Multiple Coats
Apply thin, even coats of paint. Thick coats can drip and look uneven. Wait for each coat to dry before adding the next one. Two to three coats usually give the best coverage. Lightly sand between coats to smooth the surface.
Drying And Curing Time
Let the paint dry well after the last coat. Drying means the paint feels dry to touch. Curing takes longer and makes the paint strong. Avoid heavy use of cabinets for at least a week. This helps the paint last longer and stay beautiful.
Adding Finishing Touches
Adding finishing touches is the final step in refinishing your kitchen cabinet doors. This phase protects your work and prepares the doors for use. It also gives your kitchen a fresh, polished look. Taking time here ensures the new finish lasts long and looks smooth.
Sealing With A Protective Coat
Apply a clear protective coat to seal the paint or stain. Use a brush or spray for even coverage. Choose a finish like satin, gloss, or matte based on your style. Let the coat dry fully before handling the doors. This layer guards against scratches and moisture.
Reinstalling Hardware
Clean the cabinet hardware before putting it back on. Tighten screws and replace any broken pieces. Check that knobs and handles fit well and turn easily. Installing hardware carefully helps the doors function smoothly and look neat.
Hanging The Doors Back
Align the doors with the cabinet frames. Reattach hinges using a screwdriver or drill. Adjust the doors to open and close without sticking. Check gaps between doors for even spacing. Proper hanging keeps your cabinets looking tidy and working well.
Maintenance Tips
Keeping your kitchen cabinet doors looking fresh takes some care. Proper maintenance helps protect your hard work and keeps cabinets looking new longer. Small habits make a big difference in preserving the finish and preventing damage.
Cleaning Painted Cabinets
Use a soft cloth to clean painted cabinets. Avoid harsh chemicals that can strip paint. Warm water with mild dish soap works best. Wipe gently to remove dirt and grease. Dry with a clean cloth to prevent water spots. Clean spills quickly to avoid stains. Regular light cleaning maintains the cabinet’s shine and color.
Preventing Damage
Protect cabinet doors from scratches and dents. Use cabinet door bumpers to soften closing sounds and avoid chips. Avoid leaning heavy objects on doors. Keep sharp utensils away from cabinet edges. Open and close doors gently to reduce wear. Avoid using abrasive scrubbers that can scratch the paint. Small care steps stop damage before it starts.
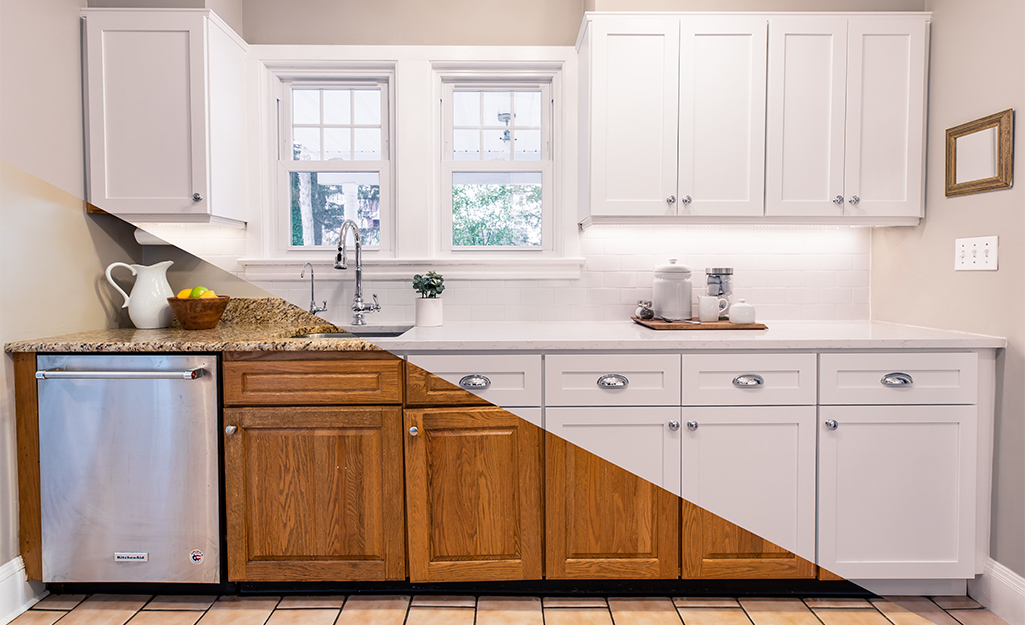
:max_bytes(150000):strip_icc()/cabinet-refacing-demystified-1822044-v3-e2dabd6aceb543fca7fd1302e9aecf3b.png)
Credit: www.thespruce.com
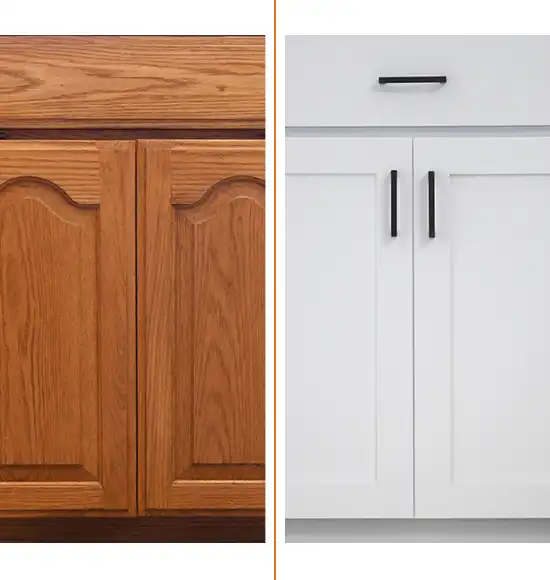
Credit: www.nhance.com
Frequently Asked Questions
How Do I Prepare Cabinet Doors For Refinishing?
Clean the doors thoroughly and remove hardware. Sand the surface to remove old finish. Wipe dust with a damp cloth before painting or staining.
What Type Of Paint Is Best For Kitchen Cabinets?
Use high-quality, durable paint like acrylic latex or oil-based. These paints resist moisture and wear, ensuring a smooth, lasting finish.
How Long Does Cabinet Door Refinishing Usually Take?
Refinishing typically takes 2-3 days, including drying time. Proper drying between coats ensures a smooth, durable finish. Avoid rushing the process.
Can I Refinish Cabinets Without Removing Doors?
Yes, but removing doors allows better access and a professional finish. Refinishing in place may cause uneven coverage and mess.
Conclusion
Refinishing kitchen cabinet doors can change your kitchen’s look. It saves money compared to buying new cabinets. Take your time to sand and clean properly. Choose paint or stain that fits your style. Work carefully for smooth, even coats. Let each layer dry well before the next.
Small steps lead to great results. Enjoy your fresh, updated kitchen space. You can do this with patience and care.

As the chief content writer, Hassan Al Sarker works as a professional kitchen-based content creator at Kitchen Liker.
In addition to reviewing the content published on Kitchen Liker, he ensures that it is accurate, relevant, and helpful. As a result, all the reviews and information published at Kitchen Liker are neutral and userfriendly.
Hassan Al Sarker has a bachelor’s degree in Hotel and Tourism Management From the Newyork University. Before joining Kitchen Liker, he was a contributor at Kitchen Club, United States.