Your kitchen deserves more than just a quick wipe down. Imagine a space that not only looks clean but feels fresh, free of harsh chemicals and strange odors.
You can achieve this with homemade kitchen cleaner. It’s simple, effective, and safe for your family. Why spend money on expensive store-bought cleaners when you can create your own powerful solution right at home? You’ll discover secrets to sparkling surfaces, all while using ingredients you probably already have in your pantry.
This guide will show you how easy it is to make your kitchen shine, ensuring you won’t want to miss a single step. Transform your cleaning routine and feel great knowing exactly what’s in your cleaner. Dive in, and unlock the potential of your kitchen with this essential homemade cleaner recipe.
Benefits Of Homemade Kitchen Cleaners
Homemade kitchen cleaners offer numerous advantages over store-bought ones. They are safer, cost-effective, and environmentally friendly. Many people are turning to DIY solutions for a healthier home. Let’s explore some key benefits.
Safe For Your Family
Homemade cleaners contain natural ingredients. This reduces the risk of harmful chemicals. Commercial cleaners often have strong chemicals that can irritate. With homemade versions, you control what goes into them. It ensures a safer environment for your loved ones.
Cost-effective Solutions
Making your own cleaner saves money. Most ingredients are already in your pantry. Vinegar, baking soda, and lemon are affordable and effective. You avoid the high cost of commercial products. This makes homemade cleaners budget-friendly.
Environmentally Friendly
Homemade cleaners are better for the planet. They reduce plastic waste from packaging. Natural ingredients break down easier in the environment. Store-bought cleaners can harm ecosystems. Choosing homemade options supports a greener Earth.
Customizable Fragrances
You can personalize the scent of your cleaner. Use essential oils like lavender or citrus for a fresh aroma. This customization enhances your cleaning experience. It offers a pleasant environment without synthetic perfumes. Personalizing scents adds a personal touch to cleaning.
Effective Cleaning Power
Homemade cleaners can match the cleaning power of commercial ones. Ingredients like vinegar and baking soda tackle tough stains. They disinfect and deodorize effectively. Homemade options clean surfaces just as well. They provide a natural alternative without compromising on performance.

Credit: www.youtube.com
Essential Ingredients For Diy Cleaners
Creating your own kitchen cleaner is simple and cost-effective. It requires only a few essential ingredients. These natural components can effectively clean and disinfect surfaces. They are safe for your family and the environment. Let’s explore these key ingredients to make your DIY cleaners effective.
Vinegar
Vinegar is a powerful cleaning agent. Its acidic nature cuts through grease and grime. It can also neutralize odors. This makes it a versatile choice for kitchen cleaning.
Baking Soda
Baking soda is a gentle abrasive. It helps scrub away tough stains. It also neutralizes odors, making your kitchen smell fresh. Combine it with vinegar for a fizzing action.
Lemon Juice
Lemon juice adds a fresh scent to your cleaner. Its natural acidity helps remove stains. It also has antibacterial properties, enhancing your cleaner’s effectiveness.
Essential Oils
Essential oils add fragrance to your cleaner. They also have antimicrobial properties. Popular choices include lavender and tea tree oils. They make your kitchen cleaner smell delightful.
Water
Water is a base for your cleaner. It dilutes other ingredients for safe use. Always use distilled water for best results. Tap water may contain minerals that leave residues.
Simple Recipes For Kitchen Cleaners
Keeping your kitchen clean can be straightforward with homemade cleaners. You can make effective solutions using basic ingredients. These DIY cleaners are cost-efficient and chemical-free. Let’s explore simple recipes you can try at home.
All-purpose Cleaner
An all-purpose cleaner is versatile and easy to make. Mix one cup of water with one cup of white vinegar. Add 10 drops of essential oil for a fresh scent. Pour into a spray bottle and shake well. This cleaner works on countertops, sinks, and more.
Degreaser Spray
Grease can be stubborn but this spray handles it. Combine two tablespoons of baking soda and one cup of warm water. Add a few drops of dish soap. Stir until dissolved and pour into a spray bottle. Apply to greasy areas and wipe clean with a cloth.
Glass And Window Cleaner
For sparkling glass, this cleaner is perfect. Mix half cup of water with half cup of vinegar. Add two tablespoons of rubbing alcohol. Pour into a spray bottle for easy use. Spray on glass surfaces and wipe with a lint-free cloth.
Step-by-step Preparation Guide
Create an effective homemade kitchen cleaner using everyday ingredients. Follow this simple guide to mix and use it safely. Keep your kitchen fresh and clean with this eco-friendly solution.
Creating a homemade kitchen cleaner can be a fun and rewarding project. It’s a simple way to ensure your kitchen is both clean and free from harsh chemicals. Plus, crafting your own cleaner can save you money and reduce waste. Ready to get started? Follow this step-by-step preparation guide to mix up your perfect kitchen cleaner.Gather Your Ingredients
First things first, gather all your ingredients. You’ll need white vinegar, baking soda, and a few essential oils for fragrance and additional cleaning power. Lemon, tea tree, and lavender oils are great choices. These common household items are not only effective but also safe for daily use.Prepare Your Cleaning Solution
Start by mixing equal parts of white vinegar and water in a spray bottle. This mixture will form the base of your cleaner. Add a few drops of your chosen essential oil for a pleasant scent. Shake the bottle gently to combine all the ingredients well.Add Baking Soda For Stubborn Stains
For tougher stains and grime, sprinkle baking soda directly onto the surface before spraying your vinegar solution. The fizzing action helps lift dirt and makes scrubbing easier. Have you ever noticed how a little extra fizz can do wonders on stubborn spots?Test On A Small Area
Before going all in, test your cleaner on a small, hidden section of your kitchen surface. This ensures that the solution doesn’t cause any damage or discoloration. It’s always better to be safe than sorry!Apply And Scrub
Once you’re confident with your solution, spray it generously over your kitchen surfaces. Use a cloth or sponge to scrub away dirt and grime. Remember, a little elbow grease goes a long way!Rinse And Dry
After scrubbing, rinse the surfaces with water to remove any residue. Use a clean, dry cloth to wipe everything down. This step ensures your kitchen shines and is ready for your next culinary adventure.Store Your Cleaner Properly
Keep any leftover cleaner in a cool, dark place. Ensure the lid is tightly closed to prevent the essential oils from evaporating. This way, your homemade cleaner will be ready for your next cleaning spree. Do you feel more confident about creating your own homemade kitchen cleaner now? With these easy steps, you can maintain a clean and fresh kitchen environment. Plus, there’s something satisfying about using a product you’ve made yourself.Tips For Effective Cleaning
Creating a homemade kitchen cleaner is both eco-friendly and cost-effective. To make it work, you need to clean efficiently. Effective cleaning ensures that your surfaces are spotless and safe. Here are some tips to help you clean your kitchen effectively.
Choose The Right Ingredients
Pick ingredients that suit your cleaning needs. Vinegar is excellent for cutting grease. Baking soda works well for scrubbing tough stains. Lemon juice can help remove odors. Mix these ingredients based on your cleaning requirements.
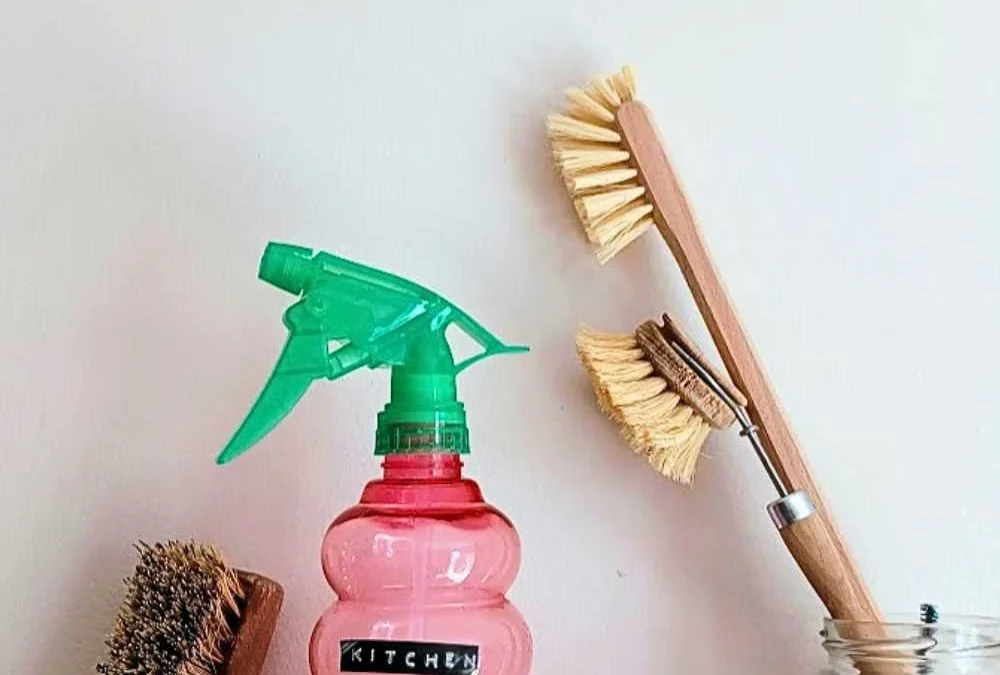
Use The Right Tools
The tools you use can make a difference. Microfiber cloths are great for wiping surfaces. Scrub brushes can help with tough stains. A spray bottle makes it easy to apply your cleaner.
Test On A Small Area First
Before using your cleaner on a large area, test it first. Apply it to a small, hidden spot. This ensures it won’t damage your surfaces.
Clean Regularly
Regular cleaning prevents dirt buildup. Clean your kitchen surfaces daily. This keeps them looking fresh and neat. A quick wipe can go a long way.
Focus On High-touch Areas
High-touch areas collect more germs. Clean handles, knobs, and switches often. Pay attention to these spots for a hygienic kitchen.
Allow Time For The Cleaner To Work
Let the cleaner sit before wiping it off. This gives it time to break down grime. Waiting a few minutes can improve cleaning results.
Rinse Thoroughly
After cleaning, rinse surfaces with water. This removes any leftover cleaner. Rinsing ensures no residue remains.

Credit: loveleafco.com
Safety Measures
Creating a safe environment is crucial when making homemade kitchen cleaner. Always wear gloves to protect your skin from harsh ingredients. Ensure good ventilation to avoid inhaling fumes, keeping windows open or using exhaust fans.
Making homemade kitchen cleaner is a rewarding venture, but ensuring safety during the process is crucial. Just like when you first learned to ride a bike, you wouldn’t skip the helmet, right? The same principle applies here. You want to protect yourself and your loved ones from potential hazards that can arise when mixing various ingredients. Let’s dive into some essential safety measures to keep your cleaning adventure risk-free and effective.Understanding Ingredient Safety
Before you begin, familiarize yourself with the ingredients. Vinegar, baking soda, and essential oils are common in homemade cleaners. However, mixing vinegar with bleach can release toxic gases. Always read labels and avoid harmful combinations. You might be surprised at how a simple oversight can lead to dangerous outcomes.Proper Storage Practices
Where you store your cleaner matters. Use airtight containers, preferably glass, as some ingredients can degrade plastic over time. A friend once stored her homemade cleaner in a flimsy plastic bottle. It leaked, damaging her wooden shelf. Learn from her mishap—choose sturdy storage options.Ventilation Is Key
Mixing cleaners can release fumes. Ensure your kitchen is well-ventilated by opening windows or using fans. Ever noticed how fresh air can change your mood? It also keeps your lungs safe from irritating fumes.Use Protective Gear
Wearing gloves and goggles might sound excessive, but they protect your skin and eyes from irritants. A splash of vinegar in your eye can ruin your day. It’s like wearing a raincoat on a stormy day—better safe than sorry.Label Your Creations
Label your cleaners with ingredients and dates. This prevents accidental misuse and helps you track freshness. Imagine reaching for the wrong cleaner during a hurry—it could be disastrous. A simple label can save time and prevent headaches.Test Before Use
Before using your cleaner on surfaces, test it on a small, inconspicuous area. This ensures it won’t damage your precious countertops. It’s akin to tasting your cooking before serving it—always check before going all in.Keep Away From Children And Pets
Kids and pets are naturally curious. Store cleaners in high places or locked cabinets. If you’ve ever seen a toddler navigate a room, you know they’ll find what you least expect. Taking precautions keeps everyone safe.Emergency Preparedness
Know what to do in case of accidents. Keep emergency numbers and first aid supplies handy. Just like you’d prepare for a road trip, prepare for any mishaps. Being ready is part of being responsible. Safety isn’t just a checklist; it’s a mindset. Think about how you’ll implement these measures and create a safer environment at home. Which step will you start with today?Storing Homemade Cleaners
Creating your own kitchen cleaner is easy and eco-friendly. Mix vinegar and baking soda for a powerful solution. Store in a spray bottle for convenience and safety.
Storing homemade cleaners is an important step in maintaining their effectiveness and ensuring safety. After investing time in creating a natural, eco-friendly solution, the last thing you want is for it to lose its potency or accidentally spill. Proper storage can extend the life of your cleaner and keep your kitchen both safe and tidy.Choose The Right Container
Select a container that is airtight and made of a material suitable for the cleaner’s ingredients. Glass spray bottles are an excellent choice for most homemade solutions as they are durable and non-reactive. Plastic containers may work too, but make sure they are BPA-free and sturdy.Label Everything Clearly
Always label your containers with the contents and the date it was made. This simple step can prevent mix-ups and help you keep track of the cleaner’s shelf life. A neatly labeled bottle also adds a touch of professionalism to your homemade concoctions.Store In A Cool, Dark Place
Many natural ingredients, like essential oils, can degrade if exposed to heat or sunlight. Storing your cleaner in a cool, dark cupboard can help maintain its effectiveness. Consider keeping it under the sink or in a pantry where it’s easily accessible but out of direct light.Keep Away From Children And Pets
Even natural cleaners can be harmful if ingested. Ensure your stored cleaners are out of reach of curious little hands and paws. Consider using a high shelf or a locked cabinet for added safety.Regularly Check For Effectiveness
Over time, homemade cleaners can lose their cleaning power. Make a habit of checking your cleaners every couple of months. If you notice a change in smell or texture, it’s time to make a fresh batch. Storing your homemade kitchen cleaner properly not only keeps your kitchen organized but also ensures that your efforts in making natural cleaners are worthwhile. Have you considered how better storage solutions might enhance your DIY cleaning routine?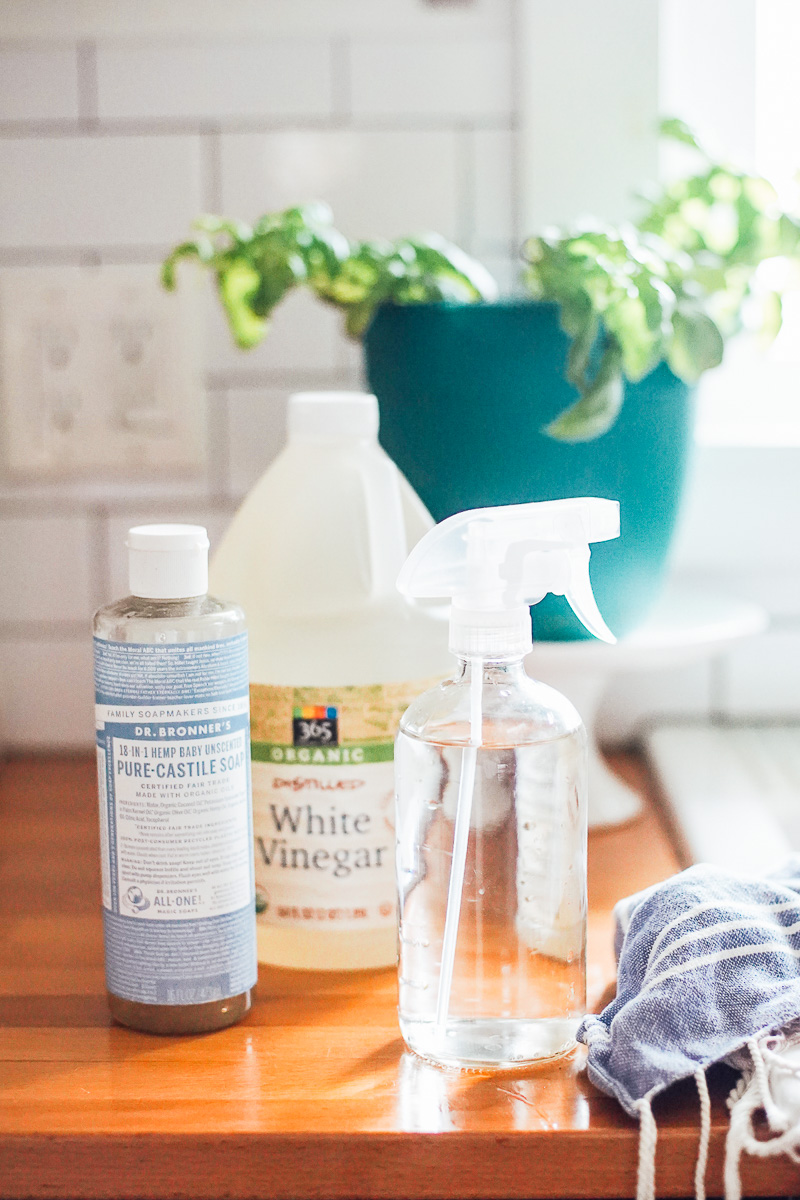
Credit: livesimply.me
Troubleshooting Common Issues
Homemade kitchen cleaners can be efficient and cost-effective. But sometimes, things don’t go as planned. You might face issues like streaks or residue. Understanding and resolving these problems is key. This section addresses common issues and provides solutions.
Streaks On Surfaces
Streaks can be frustrating. They often occur on glass or shiny surfaces. First, check the cloth you use. Microfiber cloths work best. They leave fewer streaks. Also, avoid using too much cleaner. Excessive cleaner can cause streaks. Spray lightly and wipe immediately. Let the surface dry naturally.
Residue Left Behind
Residue can appear if the cleaner isn’t mixed well. Shake your cleaner bottle before each use. Ensure all ingredients are combined. Use distilled water if possible. Tap water can contain minerals that leave residue. Rinse the area with water after cleaning. This helps remove any leftover cleaner.
Foul Smell From Cleaner
A homemade cleaner may sometimes smell unpleasant. Essential oils can mask unwanted odors. Add a few drops to your mixture. Lemon or lavender oils work well. Store your cleaner in a cool, dark place. This helps maintain its freshness. If the smell persists, consider adjusting your recipe.
Cleaner Not Effective
Sometimes, a homemade cleaner may not work as intended. Check your ingredients. Ensure they are fresh and potent. Vinegar and baking soda lose effectiveness over time. Increase the amount of active ingredients if needed. Test on a small area first. Adjust your recipe until you find the right balance.
Frequently Asked Questions
What Ingredients Are Needed For Homemade Kitchen Cleaner?
To make a homemade kitchen cleaner, you’ll need white vinegar, baking soda, and water. These ingredients are effective in removing grease and grime. You can also add essential oils for a pleasant scent. Mix them in a spray bottle for easy application.
How Do You Make Kitchen Cleaner Step-by-step?
Start by combining equal parts of water and vinegar in a spray bottle. Add a tablespoon of baking soda. Shake well to mix. Optionally, add a few drops of essential oil for fragrance. Spray on surfaces and wipe clean with a cloth.
Can Homemade Cleaner Disinfect Kitchen Surfaces?
Yes, homemade cleaners can disinfect kitchen surfaces. Vinegar is a natural disinfectant that kills bacteria and germs. Baking soda adds scrubbing power. For extra disinfecting, include a few drops of tea tree oil. Ensure surfaces are rinsed after cleaning.
Is Homemade Kitchen Cleaner Safe For All Surfaces?
Homemade kitchen cleaners are generally safe for most surfaces. However, avoid using vinegar on granite or marble countertops. The acidity can damage these materials. Test a small area first to ensure compatibility. They work well on tile, glass, and stainless steel.
Conclusion
Crafting your own kitchen cleaner is simple and effective. You save money and avoid harsh chemicals. Just mix basic ingredients from your pantry. Customize scents with essential oils to suit your preference. This DIY cleaner is safe for most surfaces.
Remember to test on small areas first. Enjoy a clean kitchen with less waste. Plus, you contribute to a greener planet. Homemade solutions can fit easily into your routine. Start today and see the difference it makes. Your kitchen will thank you!

As the chief content writer, Hassan Al Sarker works as a professional kitchen-based content creator at Kitchen Liker.
In addition to reviewing the content published on Kitchen Liker, he ensures that it is accurate, relevant, and helpful. As a result, all the reviews and information published at Kitchen Liker are neutral and userfriendly.
Hassan Al Sarker has a bachelor’s degree in Hotel and Tourism Management From the Newyork University. Before joining Kitchen Liker, he was a contributor at Kitchen Club, United States.