Are your kitchen cabinets missing that perfect finishing touch? Installing knobs is one of the easiest and most affordable ways to upgrade your kitchen’s look instantly.
But if you’ve never done it before, the idea of drilling holes and measuring might feel overwhelming. Don’t worry—you’re about to discover a simple, step-by-step method that anyone can follow. By the end of this guide, you’ll have beautiful new knobs on your cabinets, making your kitchen look fresh and stylish.
Ready to get started? Let’s dive in!
Tools And Materials Needed
Installing knobs on kitchen cabinets is a simple way to update your space. Having the right tools and materials is important for a smooth job. Prepare everything before you start to save time and avoid mistakes.
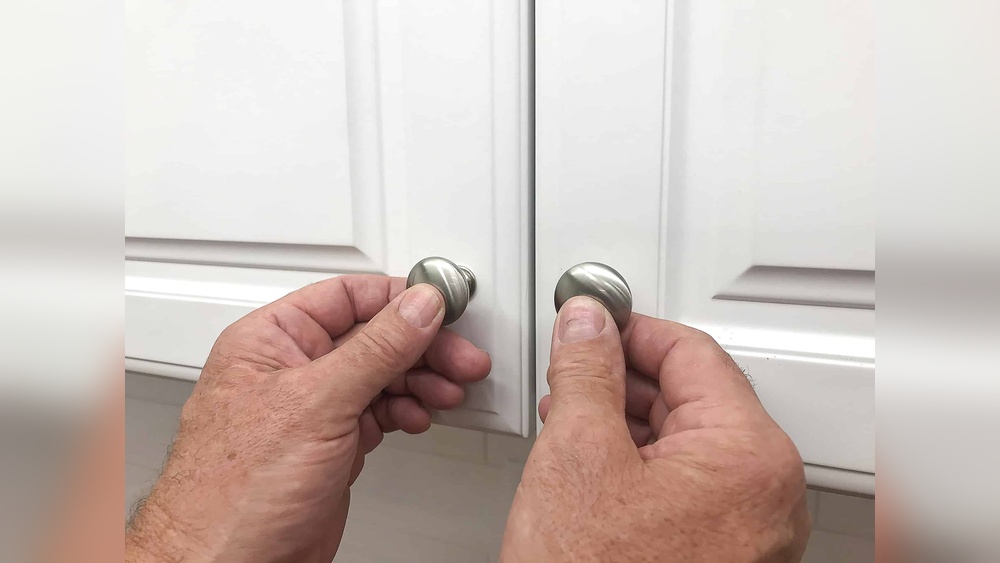
Types Of Cabinet Knobs
Cabinet knobs come in many styles and materials. Common types include metal, ceramic, glass, and wood. Choose a knob that matches your kitchen’s look. Round, square, and decorative shapes are popular options. Pick a size that fits your hand comfortably.
Essential Tools
You need a few basic tools to install knobs. A drill or screwdriver is key for making holes and tightening screws. A tape measure helps find the right spot. Use a pencil to mark where the knob will go. A level ensures knobs line up straight.
Choosing The Right Screws
Screws hold the knobs firmly to the cabinet. Use screws that fit the knob and cabinet thickness. Most knobs come with screws, but check their length before starting. Too short screws won’t hold well, and too long screws may damage the cabinet.
Credit: projectsfortomorrow.com
Preparing The Cabinets
Preparing the cabinets is the first step before installing new knobs. It ensures a smooth and clean surface. This helps the new knobs fit well and last longer.
Cleaning and removing old hardware are key tasks. These steps make the cabinets ready for the new look.
Cleaning The Surface
Start by wiping the cabinet doors with a damp cloth. Remove dust, grease, and dirt from all areas. Use a mild soap if needed. Dry the surface completely with a clean cloth. This prevents damage and helps the knobs stick better.
Removing Old Hardware
Locate the screws holding the old knobs or handles. Use a screwdriver to remove them carefully. Keep the screws if you plan to reuse them. Fill any holes left behind with wood filler. Let it dry before sanding the area smooth. This makes the surface even for new knobs.
Measuring And Marking
Measuring and marking are key steps in installing knobs on kitchen cabinets. Accurate marks ensure the knobs look even and feel right. Taking time here saves effort later. This step helps you avoid mistakes that can damage your cabinets.
Finding The Perfect Placement
Start by deciding where the knob will go on each cabinet door. Usually, knobs sit near the corner on the side you open. For drawers, place knobs centered horizontally and vertically. Measure carefully from edges to get the same spot on every door or drawer.
Use a pencil with a fine tip to make small, clear marks. Avoid heavy marks that might show later. Double-check measurements on a few cabinets to keep consistency across all pieces.
Using A Template For Accuracy
A template helps mark all knobs in the exact same place. Cut a piece of cardboard or thin wood to the right size. Mark the hole spot on the template once, then use it on every cabinet door and drawer.
Hold the template steady and mark through the hole with your pencil. This method saves time and keeps your knobs aligned. It reduces guesswork and makes your project look professional.
Drilling Holes
Drilling holes is a key step to install knobs on kitchen cabinets. It requires care and the right tools to avoid damage. A clean, accurate hole ensures the knob fits well and looks neat.
Prepare your workspace. Mark the spot for each knob carefully. Use a pencil to make a small dot where the hole will go. This helps guide your drill and keeps holes even.
Selecting The Drill Bit
Choose a drill bit that matches the knob screw size. Most knobs use screws about 3/16 inch thick. A drill bit slightly smaller than the screw works best. This keeps the screw tight and secure.
Wood drill bits are ideal for cabinet doors. They create smooth holes without splintering. Avoid using metal bits, as they may cause rough edges.
Drilling With Precision
Hold the drill steady and straight. Drill slowly to keep control and avoid splintering wood. Stop as soon as the hole is deep enough for the screw.
Use a piece of tape on the drill bit as a depth guide. This prevents drilling too far. Check the hole for clean edges before inserting the screw.
Attaching The Knobs
Attaching knobs to kitchen cabinets is a simple step that finishes the look. It also makes opening and closing easier. The process needs care to keep knobs straight and tight.
Aligning The Knob
Start by placing the knob on the cabinet door. Check if the knob lines up with the hole. The knob should sit flat and straight. Hold it steady so it does not move. This step helps avoid a crooked knob later.
Securing With Screws
Next, use the screw to fix the knob in place. Insert the screw from inside the door to the knob. Tighten the screw with a screwdriver. Make sure it is snug but not too tight. Loose screws make knobs wobble. Too tight screws can crack the wood.

Credit: truepositiontools.com
Finishing Touches
Finishing touches are the last steps to complete your cabinet knob installation. These steps ensure the knobs are secure and your cabinets look neat. Taking time on these details improves the overall look and function of your kitchen.
Checking For Tightness
Check each knob to make sure it is tight. Use a screwdriver to gently tighten screws. Avoid over-tightening to prevent damage to the cabinet or knob. Loose knobs can fall off or feel unstable. Make sure every knob feels secure and firm.
Cleaning Up
Clean the cabinet surface to remove dust and fingerprints. Use a soft cloth and mild cleaner suitable for your cabinet finish. Avoid harsh chemicals that can damage paint or wood. A clean surface highlights your new knobs and keeps the kitchen looking fresh. Dispose of any packaging or tools carefully.
Tips For A Professional Look
Installing knobs on kitchen cabinets is more than just a task. It shapes the kitchen’s look and feel. Small details make a big difference. These tips help create a neat and professional finish. Your kitchen will look well-planned and polished.
Consistent Placement Across Cabinets
Keep knob placement the same on every cabinet. Measure carefully before drilling any holes. Use a ruler or template for accuracy. Consistency gives a clean, orderly appearance. It also makes opening cabinets easier and more natural.
Mark spots lightly with a pencil. Double-check measurements to avoid mistakes. Align knobs either at the corner or center of the door edges. Uniform placement looks balanced and intentional.
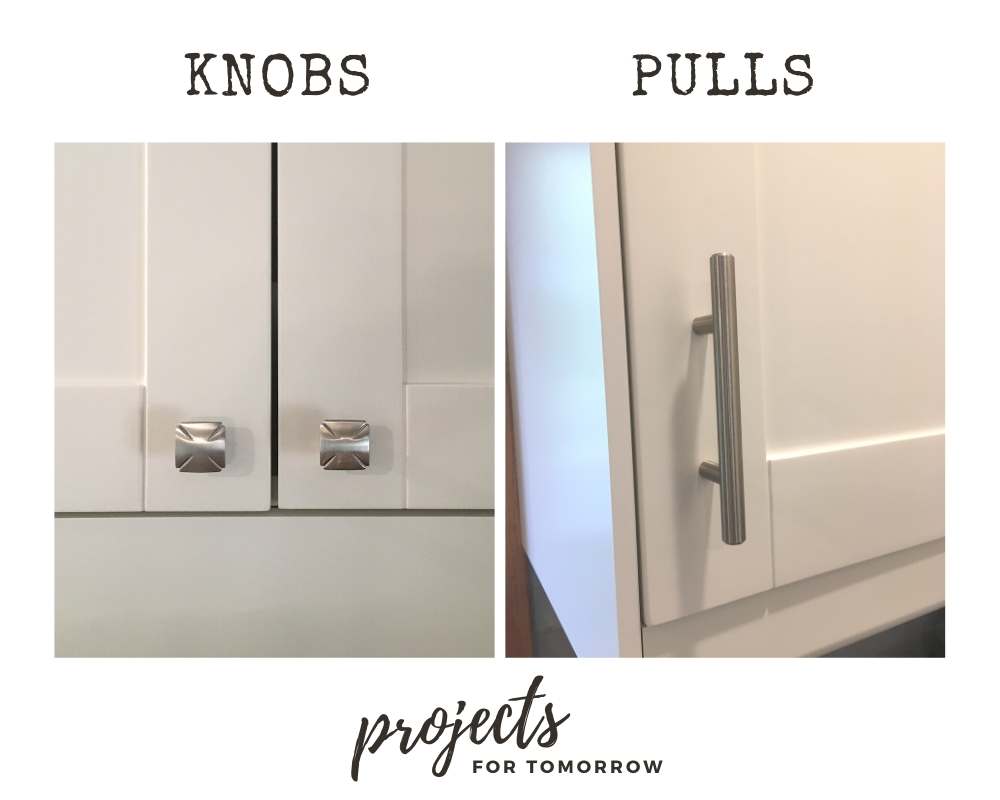
Choosing Styles To Match Decor
Select knobs that fit your kitchen’s style and colors. Classic kitchens suit simple, round knobs. Modern kitchens often use sleek, square shapes. Rustic kitchens go well with antique or wrought iron knobs.
Think about material too. Metal, wood, or ceramic knobs all create different moods. Match knob finishes with other hardware like faucets or light fixtures. This harmony ties the whole room together.

Credit: www.thriftydecorchick.com
Frequently Asked Questions
How Do I Measure For Cabinet Knob Placement?
Measure from the cabinet edge to the desired knob location. Standard placement is 2. 5 to 3 inches from the edge. Use a ruler or tape measure for accuracy. Mark the spot lightly with a pencil before drilling.
What Tools Are Needed To Install Cabinet Knobs?
You need a drill, drill bit, screwdriver, pencil, and measuring tape. A level can help ensure knobs are aligned. Choose a drill bit matching the screw size. These tools make installation quick and precise.
Can I Install Knobs On Existing Cabinets Myself?
Yes, installing knobs is a simple DIY project. Mark holes, drill carefully, and attach knobs with screws. It requires minimal tools and time. Proper measurement ensures a neat, professional look on your cabinets.
How Do I Choose The Right Size Knob For Cabinets?
Select knobs proportional to cabinet size and style. Larger cabinets suit bigger knobs for visibility. Smaller cabinets look best with compact knobs. Consider comfort and ease of grip when choosing size.
Conclusion
Installing knobs on kitchen cabinets is a simple way to update your space. Choose the right knobs and tools before you start. Measure carefully and mark spots clearly to avoid mistakes. Tighten screws firmly but do not overtighten. Take your time and enjoy the process.
New knobs can change the look of your kitchen quickly. Small steps make a big difference. Now, your kitchen feels fresh and inviting. Give your cabinets a new style with ease.

As the chief content writer, Hassan Al Sarker works as a professional kitchen-based content creator at Kitchen Liker.
In addition to reviewing the content published on Kitchen Liker, he ensures that it is accurate, relevant, and helpful. As a result, all the reviews and information published at Kitchen Liker are neutral and userfriendly.
Hassan Al Sarker has a bachelor’s degree in Hotel and Tourism Management From the Newyork University. Before joining Kitchen Liker, he was a contributor at Kitchen Club, United States.