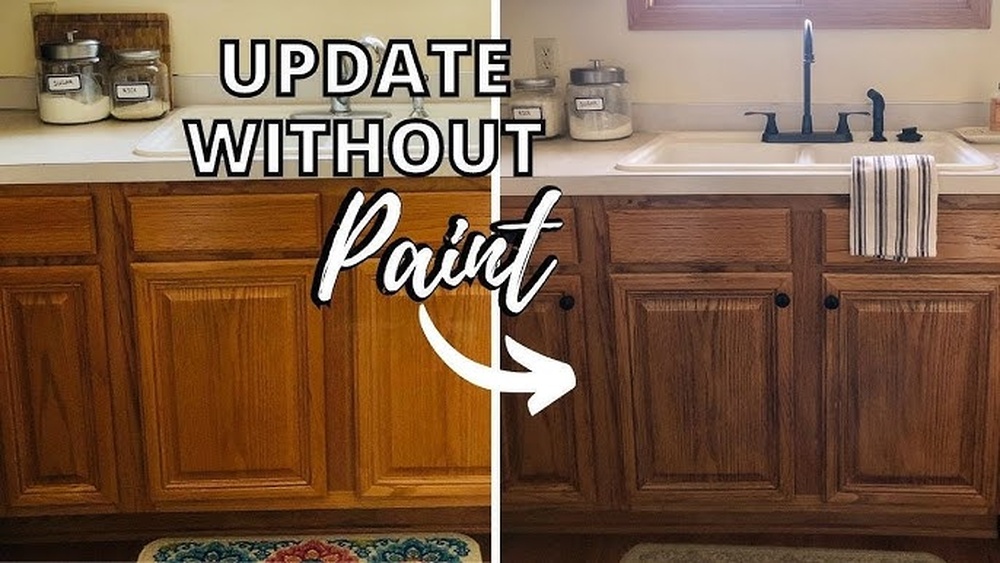
Are your kitchen cabinets looking dull or outdated? Restaining them can give your entire kitchen a fresh, vibrant look without the cost of a full remodel.
But if you’re worried it sounds complicated or messy, don’t be. You can transform your cabinets with just a few simple steps—and the results will surprise you. In this guide, you’ll discover how to restain your kitchen cabinets like a pro, saving money and adding value to your home.
Ready to bring new life to your kitchen? Let’s get started!
Tools And Materials Needed
Restaining kitchen cabinets requires the right tools and materials. These help you work safely and get great results. Having everything ready makes the project easier and faster.
Below are the essential items needed for restaining your cabinets. Each plays a key role in the process.
Safety Gear
Protect yourself with safety glasses and gloves. A mask helps avoid inhaling dust and fumes. Safety gear keeps you safe during sanding and staining.
Sandpaper And Sanding Tools
Use sandpaper to remove old finish and smooth the wood. Different grits help with rough and fine sanding. An electric sander speeds up the work but sanding by hand works too.
Wood Cleaner Or Deglosser
Clean the cabinet surfaces before applying stain. A wood cleaner or deglosser removes dirt, grease, and old finish residue. This step helps the stain stick better.
Wood Stain
Choose a wood stain in your preferred color. Oil-based stains last longer, while water-based stains dry faster. Test the stain on a small area first.
Brushes And Rags
Use brushes to apply stain evenly. Rags help wipe off excess stain for a smooth finish. Choose lint-free cloths to avoid leaving fibers behind.
Protective Finish
After staining, apply a clear protective finish. Polyurethane or varnish adds shine and protects the wood. Use a clean brush for smooth application.
Drop Cloths And Painter’s Tape
Cover floors and nearby surfaces with drop cloths. Painter’s tape protects edges and hardware. These prevent stains and finishes from making a mess.
Preparing The Cabinets
Preparing your kitchen cabinets is the first step in restaining them. Proper preparation helps the new stain stick well and last longer. It also makes the cabinets look smooth and fresh.
Start by removing all cabinet doors and hardware. Then clean and sand the surfaces. These tasks take time but improve the final result.
Removing Cabinet Doors And Hardware
Begin by taking off the cabinet doors carefully. Use a screwdriver to remove the hinges. Keep the screws and hardware in a safe place. Label the doors if needed. This helps to put them back easily.
Removing doors allows you to work on flat surfaces. It also protects the hardware from damage during sanding and staining.
Cleaning And Sanding Surfaces
Clean the cabinets with a mild detergent and warm water. Remove grease, dirt, and old stains. Let the cabinets dry completely before sanding.
Sand the surfaces using medium-grit sandpaper. This removes the old finish and rough spots. Sand in the direction of the wood grain. Wipe away dust with a damp cloth. Smooth surfaces help the stain absorb evenly.
Choosing The Right Stain
Choosing the right stain is key to a beautiful kitchen cabinet makeover. The stain changes the wood’s color and brings out its natural texture. It also protects the wood from damage. Knowing the types of stains and how to pick the perfect color helps create the look you want.
Types Of Wood Stains
There are several stain types to consider. Oil-based stains soak deep into the wood. They give a rich, long-lasting finish. Water-based stains dry faster and have less smell. They clean up easily with soap and water. Gel stains sit on top of the wood. They work well on cabinets with uneven surfaces. Each type offers different benefits for your project.
Picking The Perfect Color
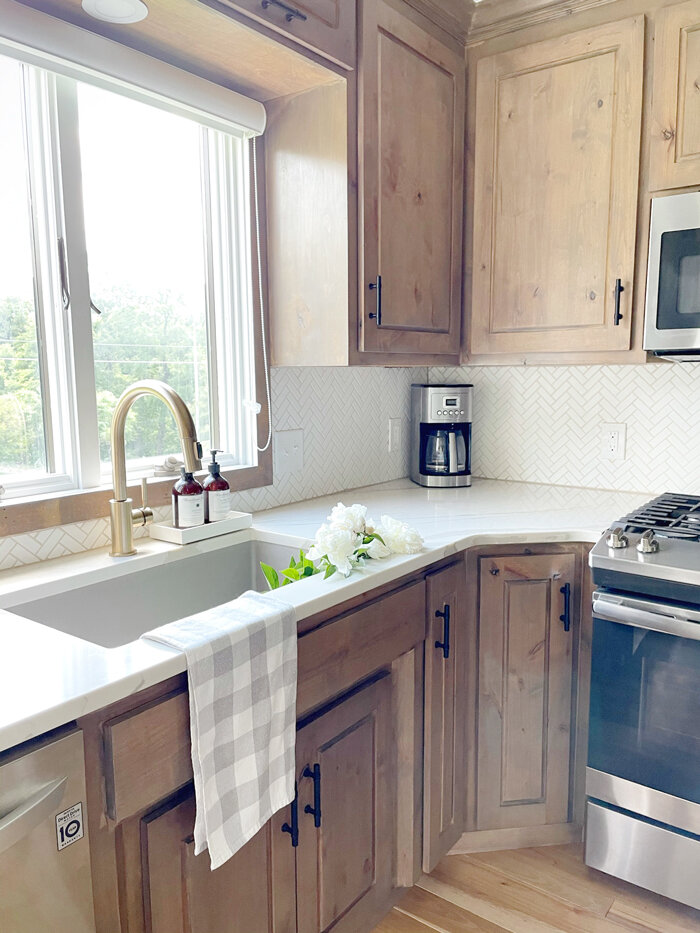
Choose a stain color that matches your kitchen style. Light stains brighten small spaces and create an airy feel. Dark stains add warmth and a classic look. Test the color on a small wood area first. Wood grain changes color slightly after staining. Check how the stain looks in different lights. Select a color that complements your walls and countertops.

Credit: southwestkitchen.com
Applying The Stain
Applying stain to kitchen cabinets is a key step in the refinishing process. It changes the color and highlights the wood grain. Proper application ensures a smooth, even finish that lasts. This step requires patience and attention to detail. The right technique and number of coats will bring out the best look.
Techniques For Even Application
Start by using a clean, lint-free cloth or a good quality brush. Apply the stain in the direction of the wood grain. Work in small sections to control the process. Avoid letting the stain pool or drip. Wipe off excess stain with a cloth after a few minutes. This helps prevent blotches and uneven spots. Keep a steady hand and consistent pressure. Let each section dry before moving to the next.
How Many Coats To Apply
One coat may be enough for a light color. For deeper color, apply two or three coats. Allow each coat to dry fully before adding another. Drying times vary, usually 4 to 6 hours. Test the color on a hidden spot first. It is better to add more coats than to remove excess later. Multiple coats build richness and protect the wood surface.
Sealing And Protecting
Sealing and protecting kitchen cabinets is a vital step after restaining. This process guards the wood from moisture, stains, and daily wear. It also enhances the color and finish, keeping cabinets looking fresh longer.
Choosing the right sealant and applying it properly ensures durability. A good sealant forms a strong barrier that prevents damage. It also makes cleaning easier and preserves the wood’s natural beauty.
Types Of Sealants
Polyurethane is a popular choice. It creates a tough, water-resistant layer. Available in oil-based and water-based forms, it suits various needs.
Water-based sealants dry faster and have less odor. Oil-based ones offer a richer finish but take longer to cure.
Lacquer gives a smooth, glossy surface. It dries quickly but needs good ventilation during application.
Varnish provides strong protection and a warm tone. It works well for cabinets exposed to heat and moisture.
Application Tips
Start with clean, dry cabinets. Lightly sand the surface for better adhesion.
Use a high-quality brush or foam applicator. Apply sealant in thin, even coats to avoid drips.
Allow each coat to dry fully before adding the next. This step prevents sticky or uneven finishes.
Sand lightly between coats for a smooth texture. Remove dust with a tack cloth before applying more sealant.
Work in a well-ventilated area. Follow safety instructions on the sealant label for best results.
Credit: amandakatherine.com
Reassembling The Cabinets
Reassembling the cabinets is the last step in the kitchen cabinet restaining process. It brings all parts back together and shows the final result. This step needs careful attention to keep the cabinets working well and looking great. Take your time and follow each task closely.
Start by putting the doors and hardware back. Then, add the final touches to make the cabinets shine and look neat.
Reattaching Doors And Hardware
Begin by lining up the doors with the cabinet frames. Use the same screws and hinges you removed earlier. Tighten screws gently to avoid damage. Check each door’s movement to ensure it opens smoothly. Adjust hinges if doors do not close evenly. Reinstall handles and knobs securely. Make sure all hardware fits well and feels sturdy. This step restores the function and style of your cabinets.
Final Touches For A Polished Look
Wipe away dust or fingerprints from the restained surfaces. Use a soft cloth and mild cleaner. Look for any paint drips or uneven stains. Lightly sand those spots and touch up with stain. Check cabinet edges and corners carefully. Add a clear coat or sealant to protect the finish. Let the sealant dry completely before use. These small steps create a fresh, professional appearance.
Maintenance Tips For Longevity
Proper care keeps your restained kitchen cabinets looking fresh and new. Small daily habits protect the wood and finish. Consistent maintenance helps the stain last longer. This section shares simple tips to maintain your cabinets well.
Clean Cabinets Gently
Use a soft cloth to wipe cabinets regularly. Avoid harsh cleaners that damage the stain. Mild soap with water works best. Dry cabinets immediately after cleaning to prevent water damage.
Avoid Excess Moisture
Keep cabinets dry to prevent warping and peeling. Wipe spills quickly to stop stains. Use exhaust fans to reduce kitchen humidity. Moisture is the main enemy of wood finishes.
Protect From Heat And Sunlight
Heat can fade or crack the stain. Place hot pans on heat pads, not directly on cabinets. Direct sunlight dulls the finish. Use curtains or blinds to protect cabinets near windows.
Touch Up Scratches Quickly
Small scratches can grow if ignored. Use a matching stain marker for quick fixes. Apply carefully and wipe off excess. Regular touch-ups keep cabinets looking smooth and new.
Credit: www.kitchensredefined.com
Frequently Asked Questions
How Do I Prepare Kitchen Cabinets For Restaining?
Start by removing cabinet doors and hardware. Clean surfaces thoroughly to remove grease. Sand the wood evenly to strip old finish. Wipe off dust with a damp cloth before applying stain.
What Type Of Stain Is Best For Kitchen Cabinets?
Oil-based stains offer durability and rich color. Water-based stains dry faster and have low odor. Choose stain based on wood type and desired finish. Test stain on a small area first.
How Long Does It Take For Stain To Dry?
Drying time varies by stain type and humidity. Oil-based stains usually take 6-8 hours to dry. Water-based stains dry faster, around 1-2 hours. Always follow manufacturer’s drying time instructions for best results.
Can I Restain Cabinets Without Sanding?
Sanding is recommended for proper stain adhesion. Without sanding, the new stain may peel or look uneven. Light sanding ensures smooth, even absorption of stain on the wood surface.
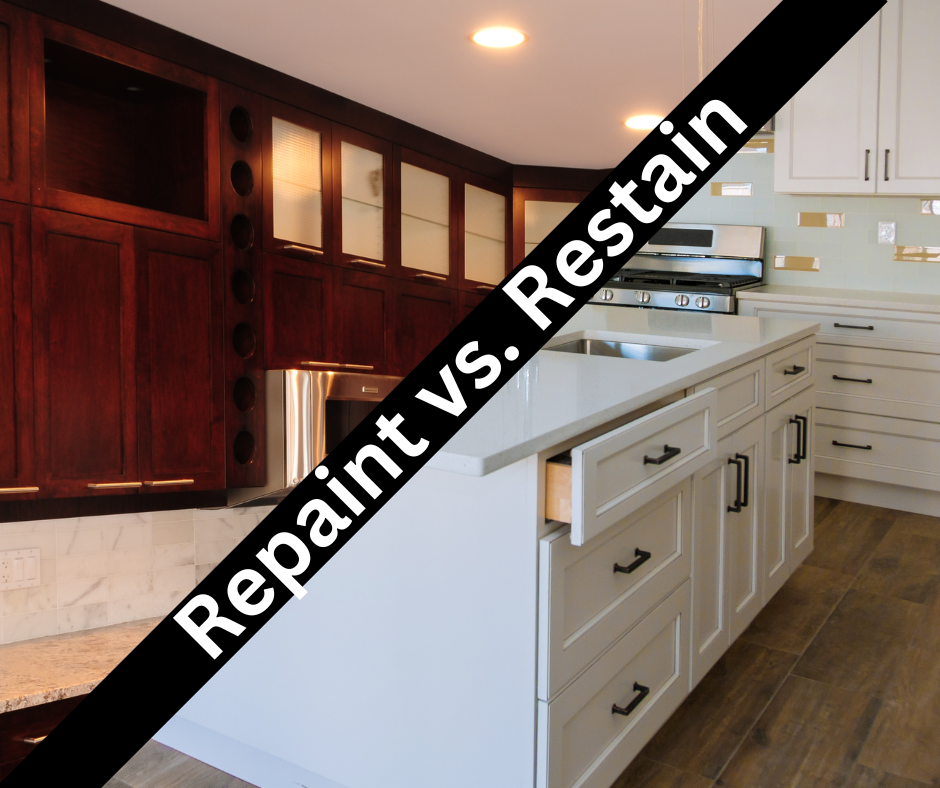
Conclusion
Restaining kitchen cabinets can refresh your entire space. It saves money compared to buying new cabinets. Take your time sanding and cleaning well. Choose the right stain color for your style. Apply stain evenly to avoid blotches. Let each coat dry before adding more.
Your kitchen will look fresh and inviting. Small changes make a big difference. Enjoy your renewed cabinets and cozy kitchen feel. Try this project to give your home a simple update.

As the chief content writer, Hassan Al Sarker works as a professional kitchen-based content creator at Kitchen Liker.
In addition to reviewing the content published on Kitchen Liker, he ensures that it is accurate, relevant, and helpful. As a result, all the reviews and information published at Kitchen Liker are neutral and userfriendly.
Hassan Al Sarker has a bachelor’s degree in Hotel and Tourism Management From the Newyork University. Before joining Kitchen Liker, he was a contributor at Kitchen Club, United States.