
Are you tired of a weak or uneven water flow from your faucet? Learning how to assemble a faucet aerator can solve this problem quickly and save you money on plumbing repairs.
You don’t need to be an expert or have special tools—just a little guidance and patience. You’ll discover simple, step-by-step instructions that make assembling your faucet aerator easy and hassle-free. Keep reading, and you’ll have your faucet working perfectly in no time.
Tools Needed
Gathering the right tools makes assembling a faucet aerator easier and faster. You need some basic tools to start the job. Some extra tools help with tough or stuck aerators. Knowing which tools to use saves time and avoids damage.
Basic Tools
A small adjustable wrench is essential for loosening and tightening parts. A pair of pliers can help grip tight areas. A cloth or rag protects the faucet surface from scratches. A screwdriver might be needed if the aerator has screws. These tools cover most standard faucet aerator assemblies.
Optional Tools For Stubborn Aerators
A rubber jar opener or rubber gloves improve grip on slippery parts. A small brush cleans mineral deposits from aerator parts. WD-40 or a similar lubricant can loosen stuck components. Needle-nose pliers reach tight or narrow spaces. These tools work well if the aerator is old or corroded.
Credit: worldcommunity.ca
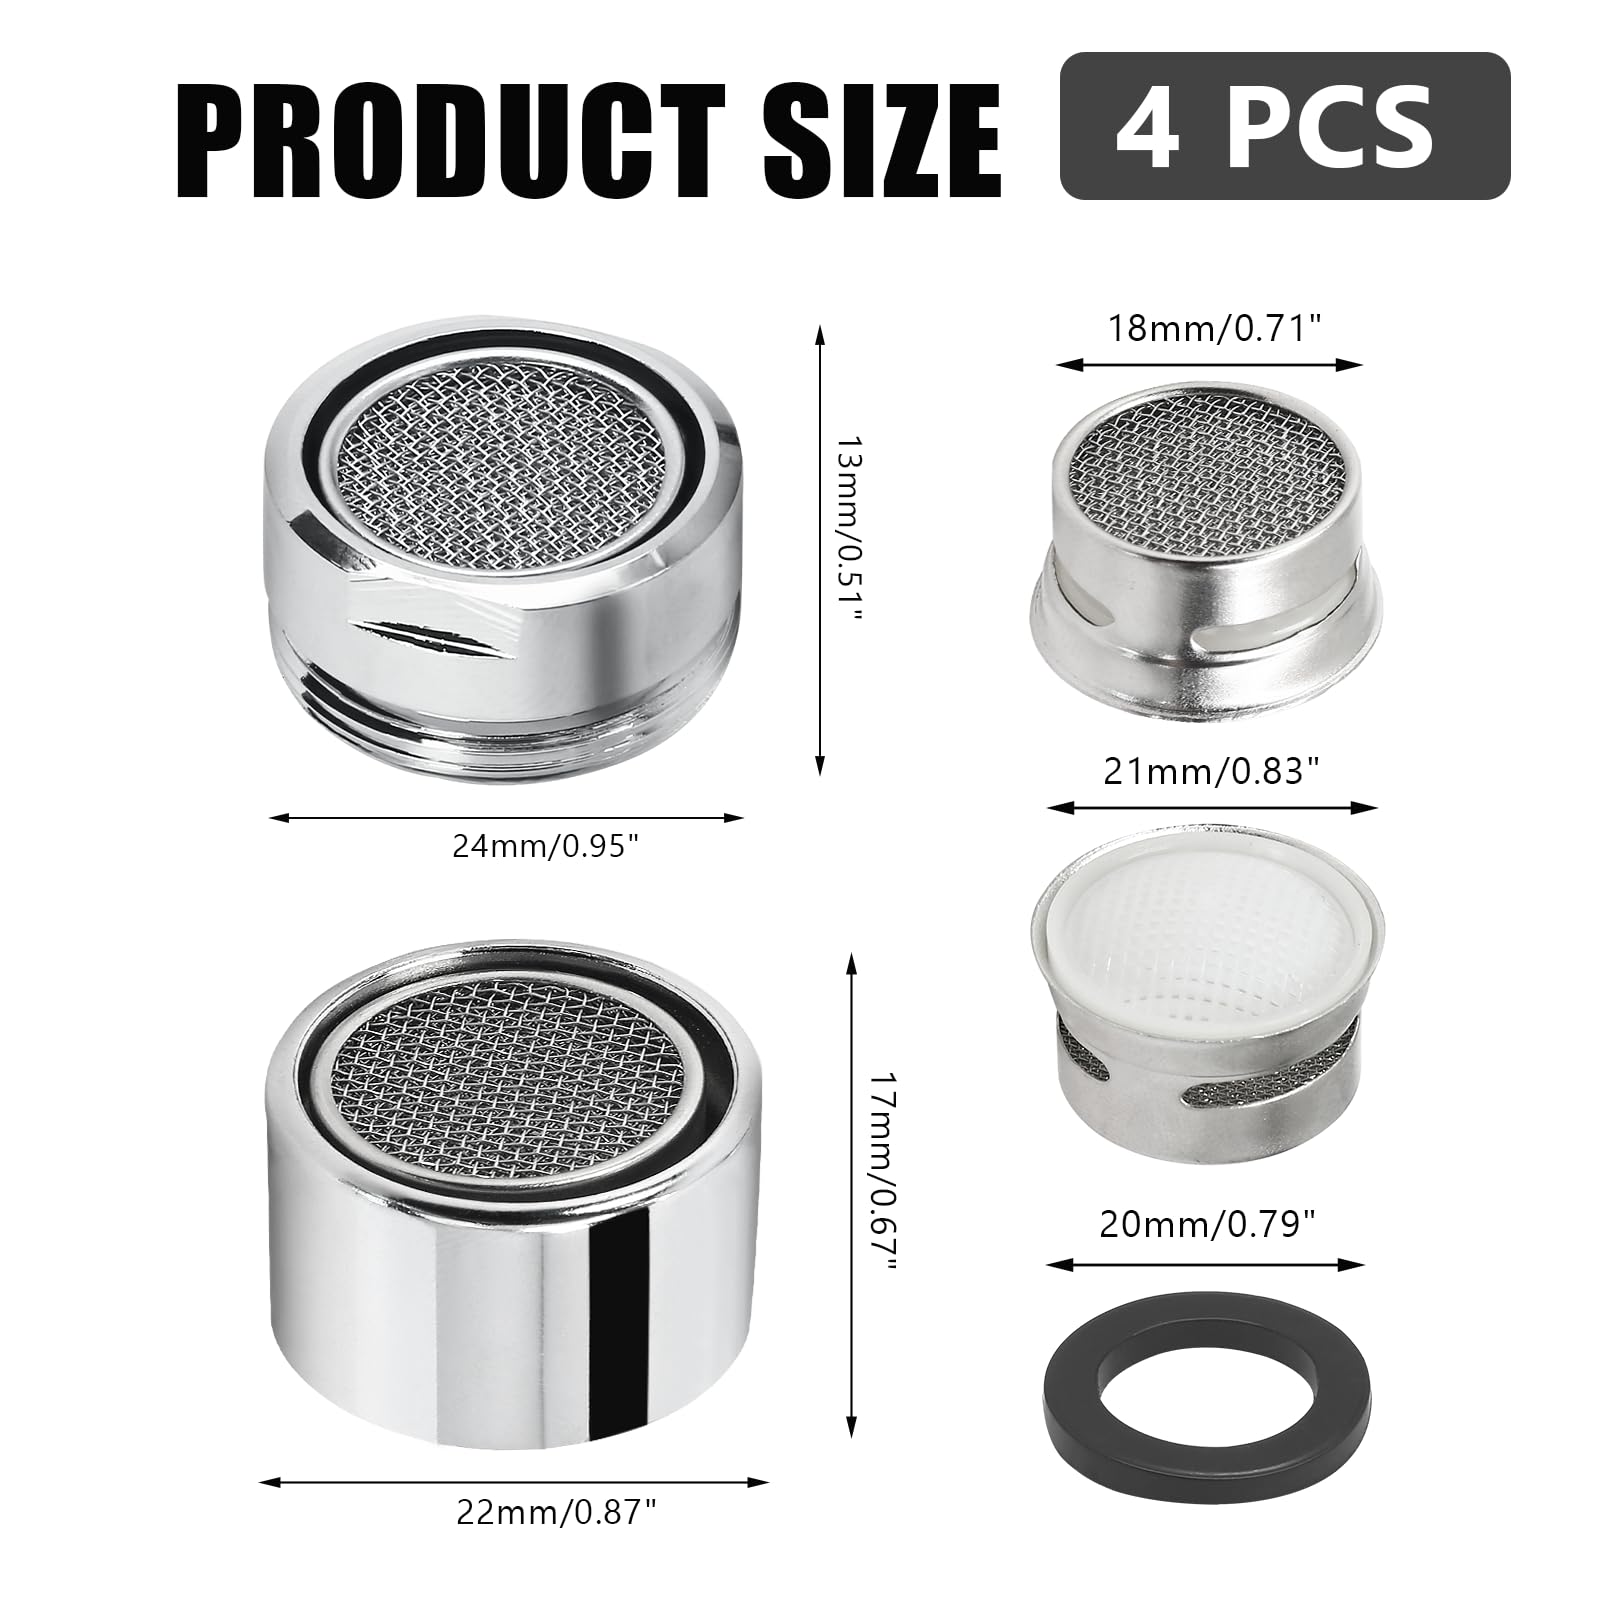
Identify Aerator Type
Knowing the type of faucet aerator is the first step to proper assembly. Aerators come in different styles and sizes. Identifying your aerator type helps in choosing the right replacement or parts. This step prevents mistakes and saves time.
Understanding the basics about aerator types makes the assembly process smoother. It also ensures a better fit and function for your faucet.
Standard Vs. Specialized Aerators
Standard aerators fit most faucets and have common designs. They are easy to find and replace. Specialized aerators serve specific purposes or brands. These may have unique shapes or features. Knowing which one you have helps avoid compatibility issues.
Checking Thread Size
The thread size is the measurement of the aerator’s screw part. It must match the faucet’s thread for a tight fit. Use a ruler or thread gauge to measure. Common sizes include male and female threads. Correct sizing prevents leaks and loose fitting.
Prepare The Faucet
Start by cleaning the faucet’s tip to remove dirt and old parts. Check that all pieces are ready before you begin assembling. Make sure the threads are undamaged to avoid leaks.
Preparing the faucet is an important first step before assembling the aerator. It ensures a proper fit and prevents leaks. Taking time to prepare the faucet saves effort later. Follow simple steps to get the faucet ready for the new aerator.
Turn Off Water Supply
Start by turning off the water supply. This stops water flow and prevents spills. Locate the shut-off valve under the sink. Turn the valve clockwise until it stops. Test the faucet to confirm water is off. No water should come out when you turn the handle.
Clean Faucet Threads
Clean the threads on the faucet spout. Dirt or old tape can block proper assembly. Use a soft brush to remove debris gently. Wipe the threads with a damp cloth. Make sure the area is dry before adding the aerator. Clean threads help create a tight seal.

Credit: www.reddit.com
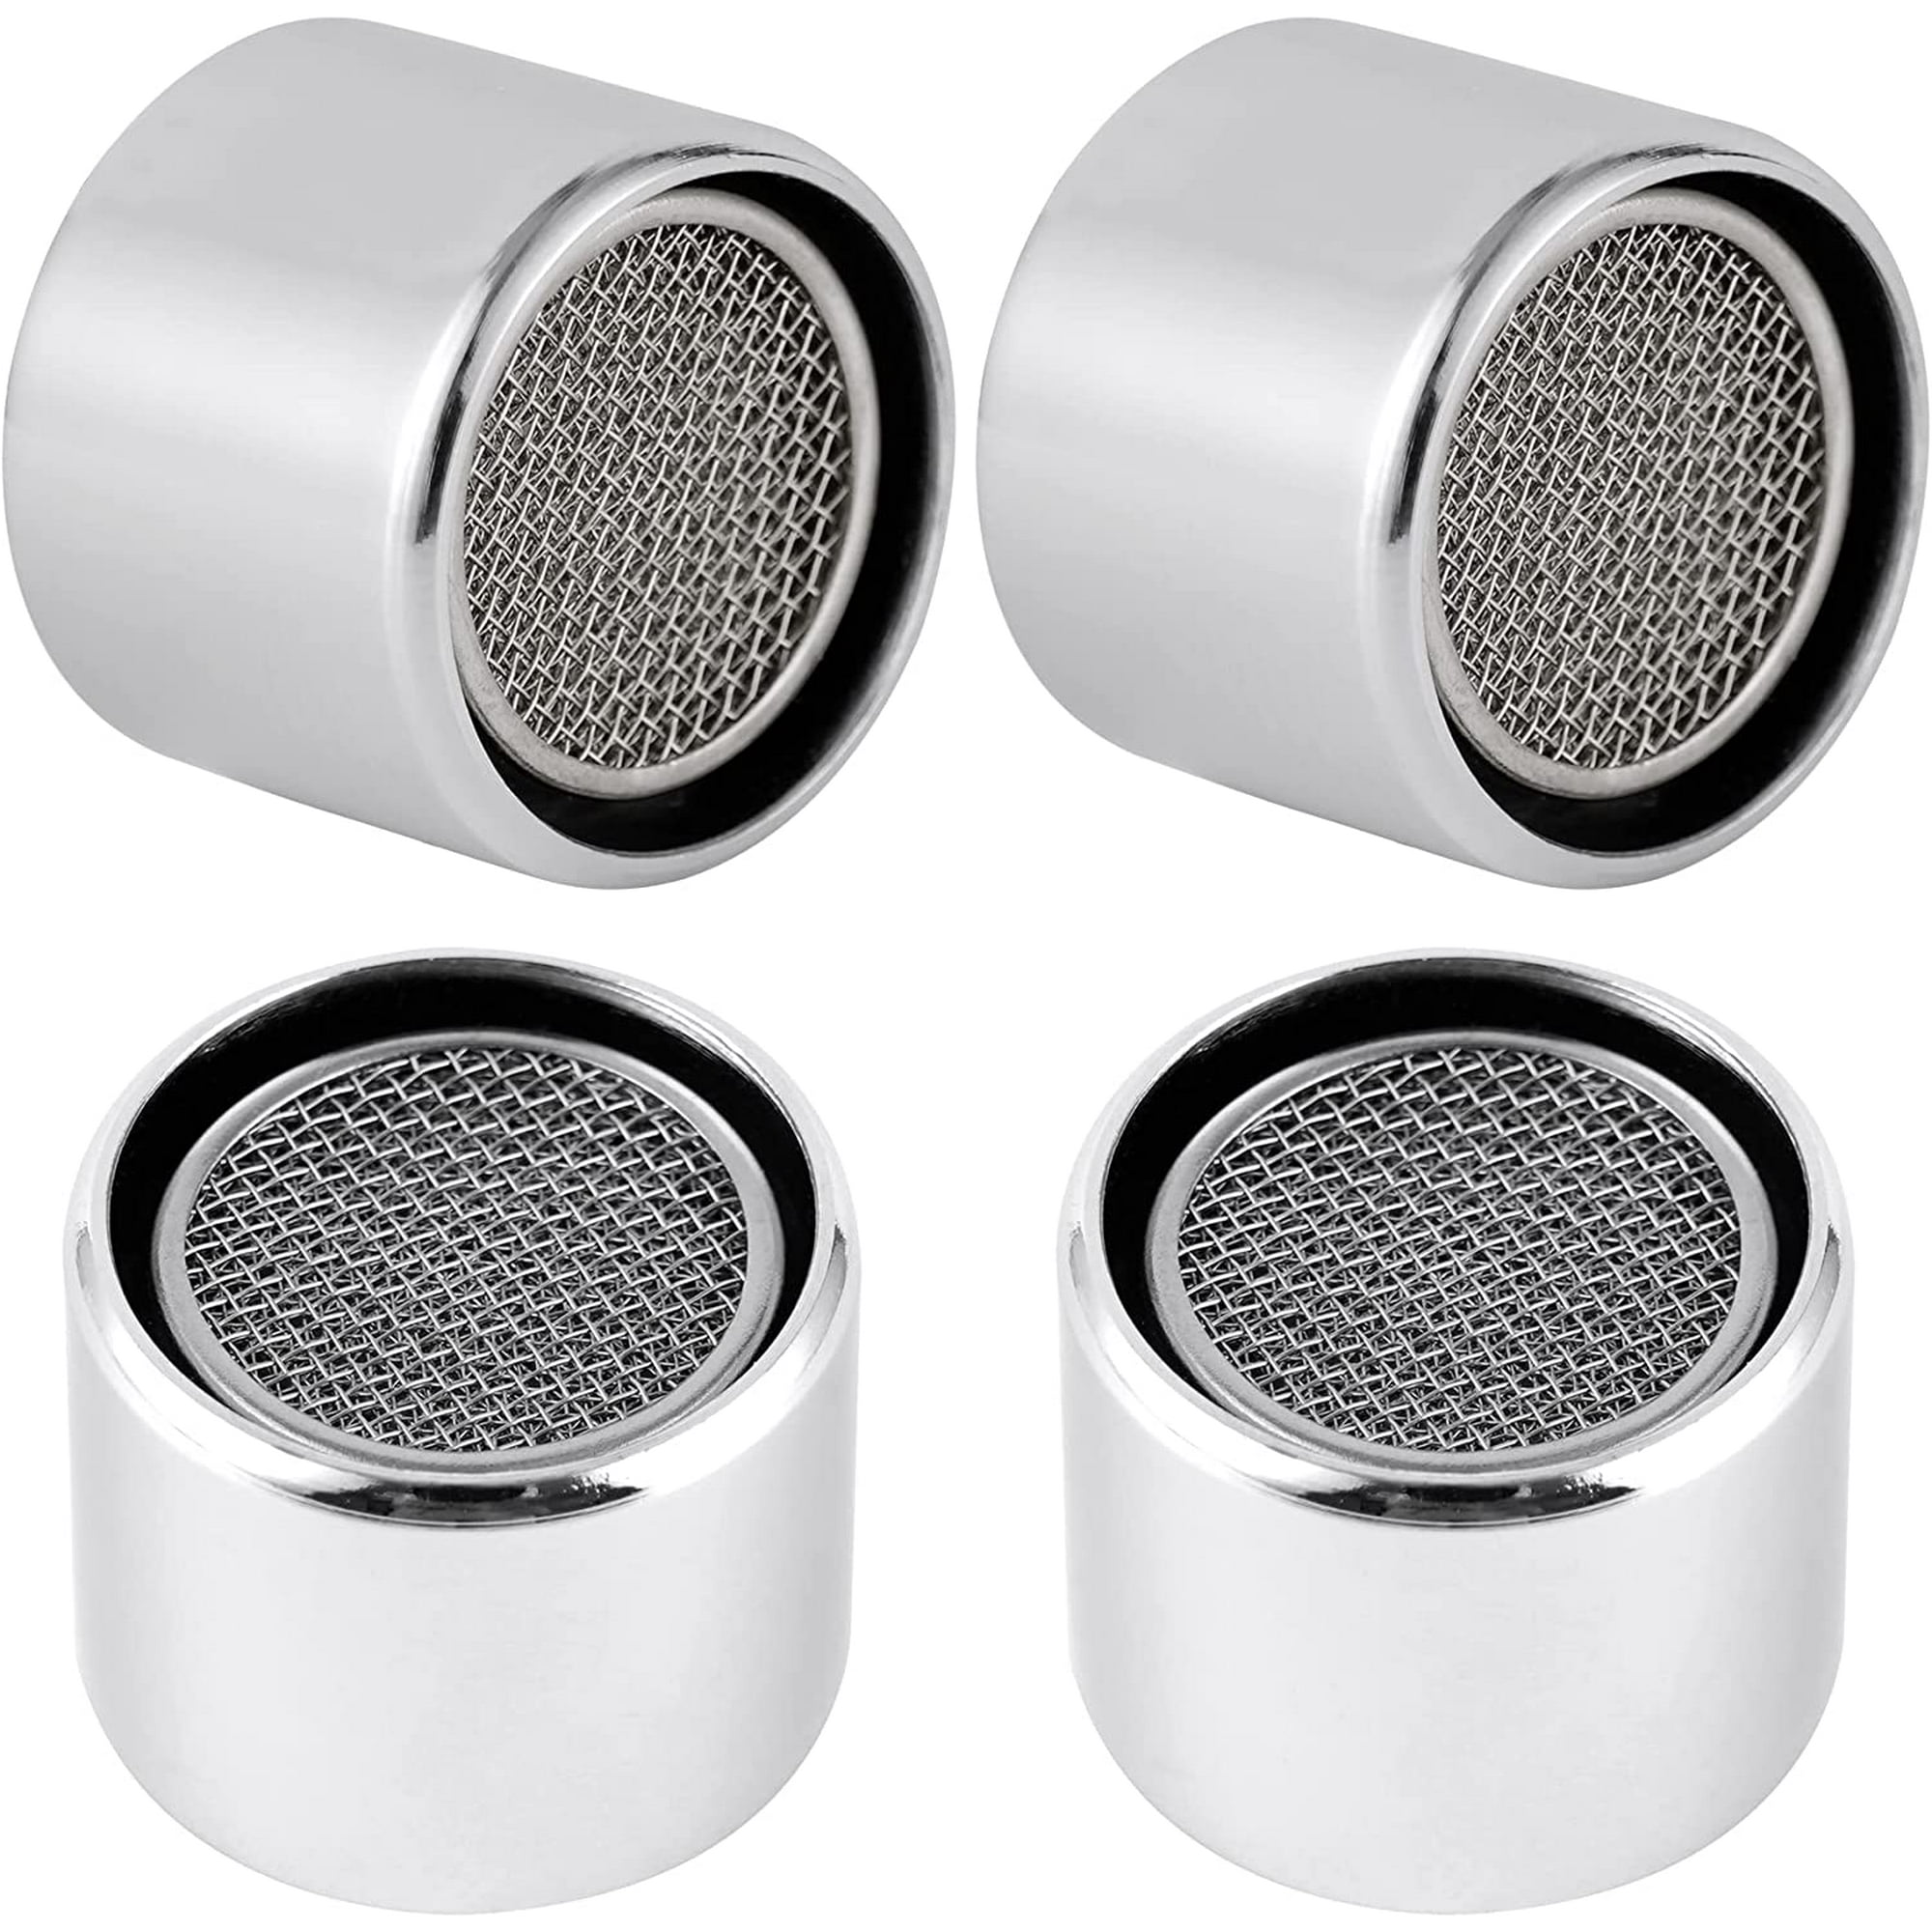
Assemble Aerator Components
Assembling the aerator components is a simple but important step. Each part must fit perfectly to avoid leaks and ensure smooth water flow. Take your time to place every piece in the right order.
Start by preparing all parts on a clean surface. This helps prevent losing small pieces and keeps everything organized.
Insert Washer And Screen
First, place the washer inside the aerator body. The washer creates a tight seal to stop water leaks. Next, add the screen on top of the washer. The screen filters out debris and keeps the water clean.
Make sure the washer lies flat and the screen fits snugly. Both parts must sit properly for the aerator to work well.
Aligning Parts Correctly
After placing the washer and screen, add the remaining components one by one. Align each part with the grooves and edges inside the aerator. Proper alignment ensures smooth assembly and good water flow.
Double-check the position of every piece before tightening. Misaligned parts can cause leaks or block water flow.
Install The Aerator
Installing the faucet aerator is a simple step that improves water flow and saves water. The aerator fits at the faucet’s spout end. Proper installation ensures no leaks and a steady stream of water. Follow these tips to install the aerator carefully and securely.
Hand Tightening Tips
Start by screwing the aerator onto the faucet by hand. Turn it clockwise slowly. Stop when it feels snug and secure. Avoid overtightening by hand. Tightening too much can damage the threads or the aerator. Hand tightening usually provides enough grip for a leak-free fit. If the aerator feels loose, tighten a bit more carefully.
Using Tools Without Damage
Use tools only if hand tightening is not enough. Wrap the aerator with a soft cloth or tape. This protects it from scratches or dents. Use adjustable pliers or a wrench gently. Turn slowly and stop once tight. Avoid using excessive force. Damaged aerators cause leaks and reduce water flow. Tools help with a better seal but must be used with care.
Credit: www.walmart.ca
Test For Leaks
Testing for leaks is an important step after assembling a faucet aerator. It ensures the aerator fits well and water flows properly. This step helps avoid water waste and damage to your sink area. Follow these simple checks to confirm your work is done right.
Turn On Water
Start by slowly turning on the faucet water. Use cold water first to avoid any surprises. Watch the aerator closely as water begins to flow. This helps you see if water sprays evenly or if any leaks appear.
Check For Drips And Adjust
Look carefully for drips around the aerator base and threads. Even small drops can cause problems later. If you see leaks, try tightening the aerator gently by hand. Avoid using tools that may damage the parts. Repeat the water test after each adjustment until no drips show.
Maintenance Tips
Maintaining your faucet aerator helps it work well for a long time. Dirt and minerals can block the small holes. This reduces water flow and may cause splashing. Regular care keeps water steady and clean. It also saves water and energy.
Regular Cleaning
Remove the aerator every few months. Soak it in vinegar for 30 minutes. This breaks down mineral buildup. Use a soft brush to clean the screen gently. Rinse with water before putting it back. Clean aerators stop clogs and keep water smooth.
When To Replace Aerator
Replace the aerator if cleaning does not help. Look for cracks or broken parts. If water flow stays uneven, it may be time. Old aerators waste water and cause noise. New aerators are cheap and easy to install. Replace them to keep your faucet working well.
Frequently Asked Questions
How Do I Assemble A Faucet Aerator Step-by-step?
To assemble a faucet aerator, start by cleaning the faucet threads. Insert the rubber washer, then place the screen and housing. Screw the aerator onto the faucet by hand. Tighten gently with a wrench if needed, avoiding overtightening to prevent damage.
What Tools Are Needed To Assemble A Faucet Aerator?
You typically need just a wrench or pliers with a cloth to protect the finish. Some aerators can be assembled by hand. Avoid using excessive force to prevent damaging the aerator or faucet threads.
How Can I Fix A Leaking Faucet Aerator?
Check if the rubber washer is properly seated and not damaged. Tighten the aerator carefully. Replace the washer or aerator if leaks persist. Clean any debris inside the aerator to ensure a tight seal.
How Often Should I Clean Or Replace A Faucet Aerator?
Clean your faucet aerator every 3-6 months to maintain water flow. Replace it if damaged, clogged beyond cleaning, or if water pressure remains low after cleaning. Regular maintenance prevents buildup and extends aerator life.
Conclusion
Assembling a faucet aerator is simple with clear steps. Take your time and follow each part carefully. A well-installed aerator saves water and improves flow. Small fixes like this make a big difference at home. Keep your tools handy and stay patient throughout the process.
Enjoy the smooth water stream once you finish. Try this easy task to maintain your faucet’s performance. It’s a quick job that anyone can do. Remember, regular cleaning helps keep the aerator working well. Good luck with your faucet project!

As the chief content writer, Hassan Al Sarker works as a professional kitchen-based content creator at Kitchen Liker.
In addition to reviewing the content published on Kitchen Liker, he ensures that it is accurate, relevant, and helpful. As a result, all the reviews and information published at Kitchen Liker are neutral and userfriendly.
Hassan Al Sarker has a bachelor’s degree in Hotel and Tourism Management From the Newyork University. Before joining Kitchen Liker, he was a contributor at Kitchen Club, United States.